Part 2 – Clients setup (Windows & Android)
Setting up the clients
1. Windows
Download and install Wireguard
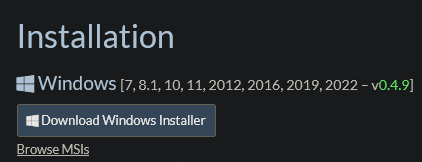
Download the Windows Installer from the official Wireguard website.
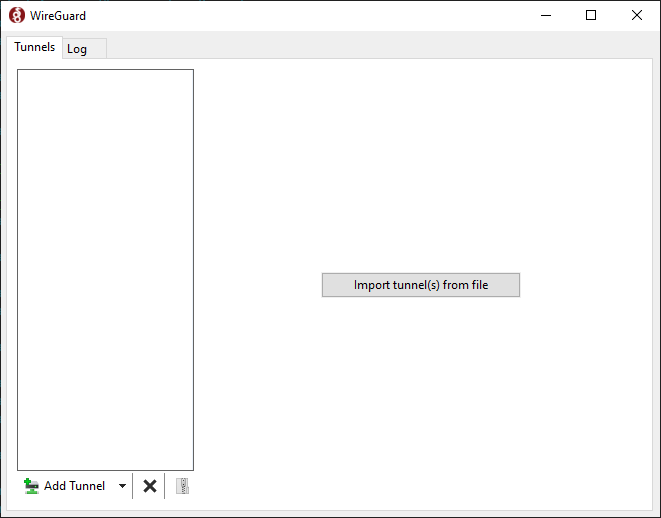
Run the wireguard-installer.exe and after a few moments, this window should appear:
Click the arrow next to Add Tunnel and select Add empty tunnel...
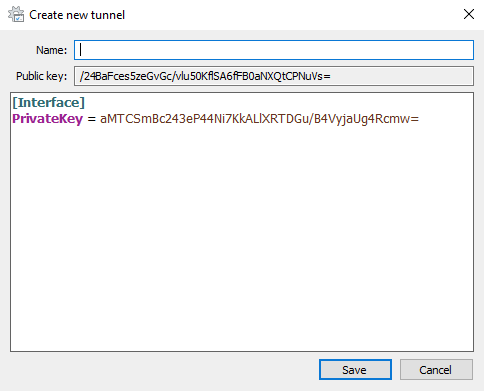
Wireguard will automatically generate a private and public key for this client.
*note: all keys shown will be destroyed afterwards and are only used for demonstration purposes
Pick a name for the new tunnel, can be anything without spaces. Fill in the client config like I did:
[Interface]
PrivateKey = your_private_key
Address = 10.20.20.3/29

[Peer]
PublicKey = public_key_of_the_server
PresharedKey = preshared_key_from_server
AllowedIPs = 10.20.20.1/32
Endpoint = public_server_ip:51895PrivateKey– Private key of the client that it just generatedAddress– Client's IP within the Wireguard tunnel[Peer]– Configuration block with information about the VPS (the other end of the Wireguard tunnel)PublicKey– The public key of the server. Use cat to print the file/etc/wireguard/keys/wg0_public.keyto the terminal and copy & paste it here.PresharedKey– Preshared key generated on the server to thepskdirectory, namedwindows10_client.psk.AllowedIPs– Only traffic destined for the10.20.20.1/32network will go through the Wireguard tunnel (32 is only 1 host). To make all traffic go through the tunnel, put0.0.0.0/0to the same field.Endpoint– The public IP address and port on your Wireguard server. Runip aon the server to get it.
Add Windows client public key to the server config
Copy this public key and paste it into wg0.conf on the server to the PublicKey line in the corresponding (second) [Peer] block.
Server /etc/wireguard/wg0.conf
[Interface]
Address = 10.20.20.1/29
ListenPort = 51895
PrivateKey = your_private_key

[Peer]
PublicKey =
PresharedKey = your_preshared_key_for_this_client
AllowedIPs = 10.20.20.2/32

[Peer]
PublicKey = public_key_from_the_windows_client
PresharedKey = your_preshared_key_for_this_client
AllowedIPs = 10.20.20.3/32
Windows client should now be set up, before testing, make sure you have completed the following:
- On the Windows client:
Addressin the[Interface]block is correct and same asAllowedIPsin[Peer]block on the server (expect the number after /, that can be different)PublicKeyis filled with the key from/etc/wireguard/keys/wg0_public.keyfrom the server.PresharedKeyis filled with the key from/etc/wireguard/psk/windows10_client.psk.AllowedIPsis set to the Wireguard local IP of the server with/32subnet mask.Endpointhas the public IP of the server with the correct port.
- On the server:
PublicKeyin the[Peer]block is copied from the Windows client.PresharedKeyis the same as on the client.AllowedIPscorresponds to theAddressfield on the client (expect the number after /, that can be different).
Test the Windows–Server connection
Make sure the firewall is set to allow communication on port 51895 on the server and comment out the other peer in wg0.conf like this:
[Interface]
Address = 10.20.20.1/29
ListenPort = 51895
PrivateKey = your_private_key

# [Peer]
# PublicKey =
# PresharedKey = your_preshared_key_for_this_client
# AllowedIPs = 10.20.20.2/32

[Peer]
PublicKey = public_key_from_the_windows_client
PresharedKey = your_preshared_key_for_this_client
AllowedIPs = 10.20.20.3/32
Start Wireguard interface on the server:
$ wg-quick up wg0

[#] ip link add wg0 type wireguard
[#] wg setconf wg0 /dev/fd/63
[#] ip -4 address add 10.20.20.1/29 dev wg0
[#] ip link set mtu 8920 up dev wg0
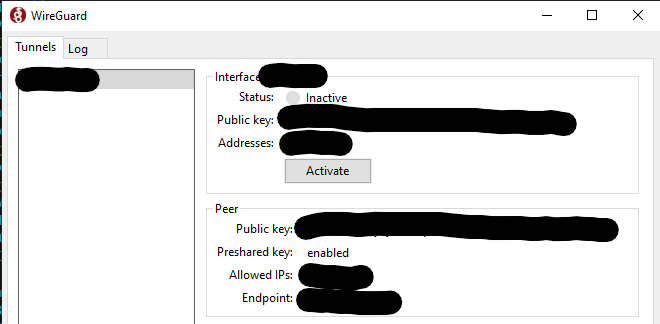
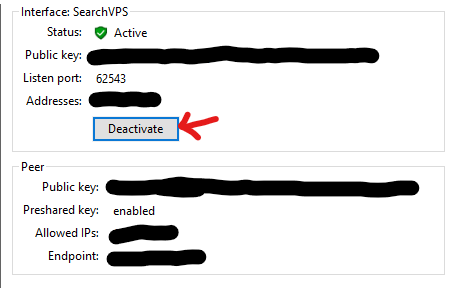
Start Wireguard tunnel on the Windows client by clicking Activate:
The tunnel is now established, use ping from both devices to test connectivity.
2. Android
Leave the Windows client for a while, we will come back to it later to finish some things.
Install Wireguard for Android
Wireguard can be installed from Google Play Store or preferably from F-Droid. Use option which suits you the best.
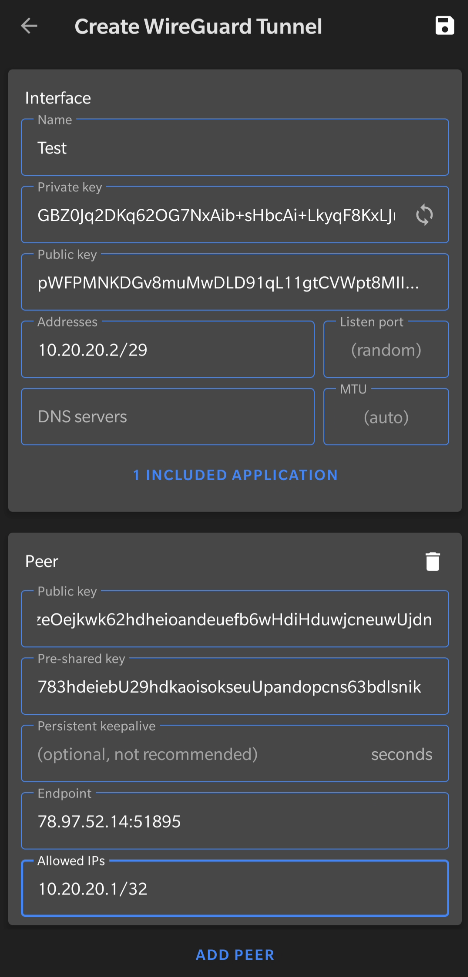
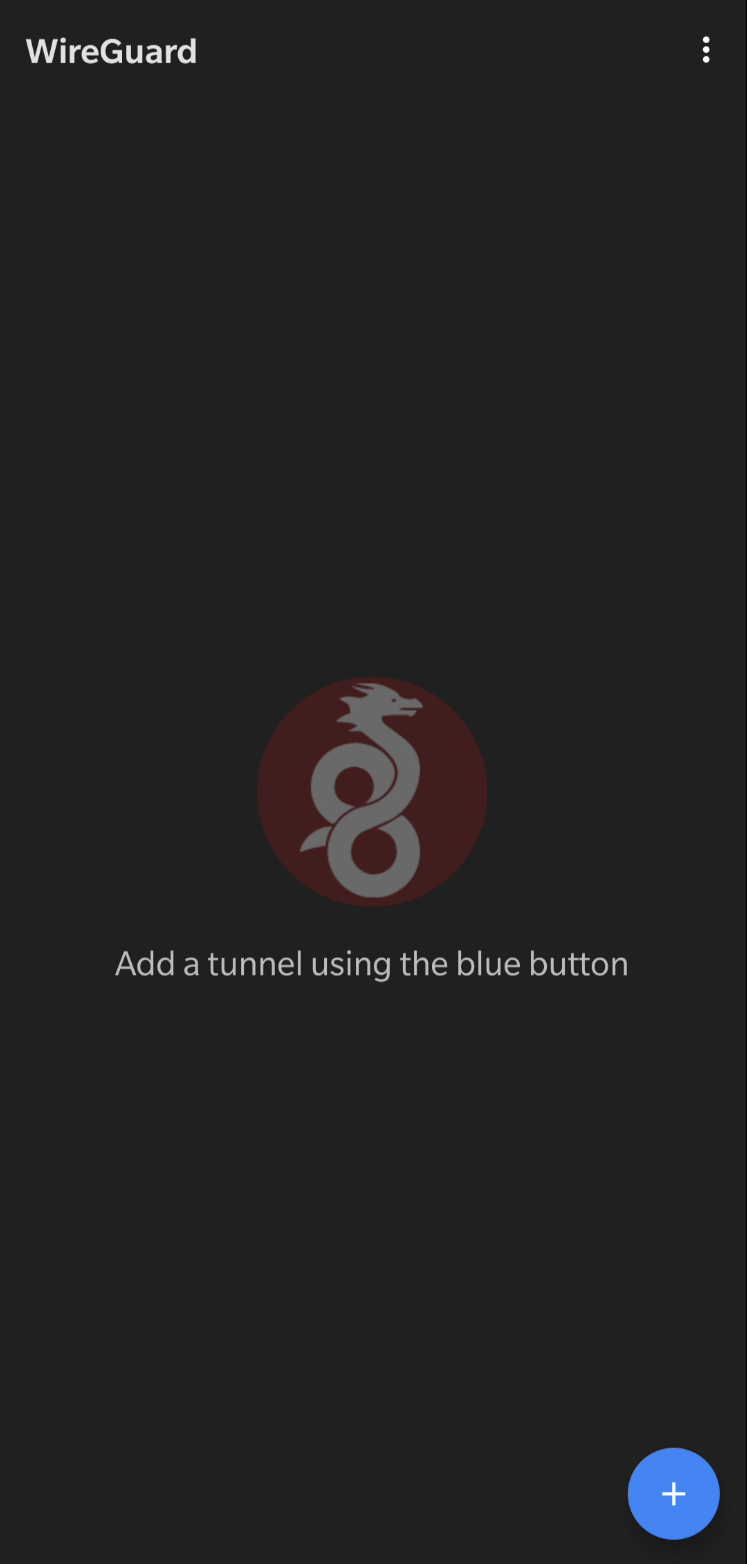
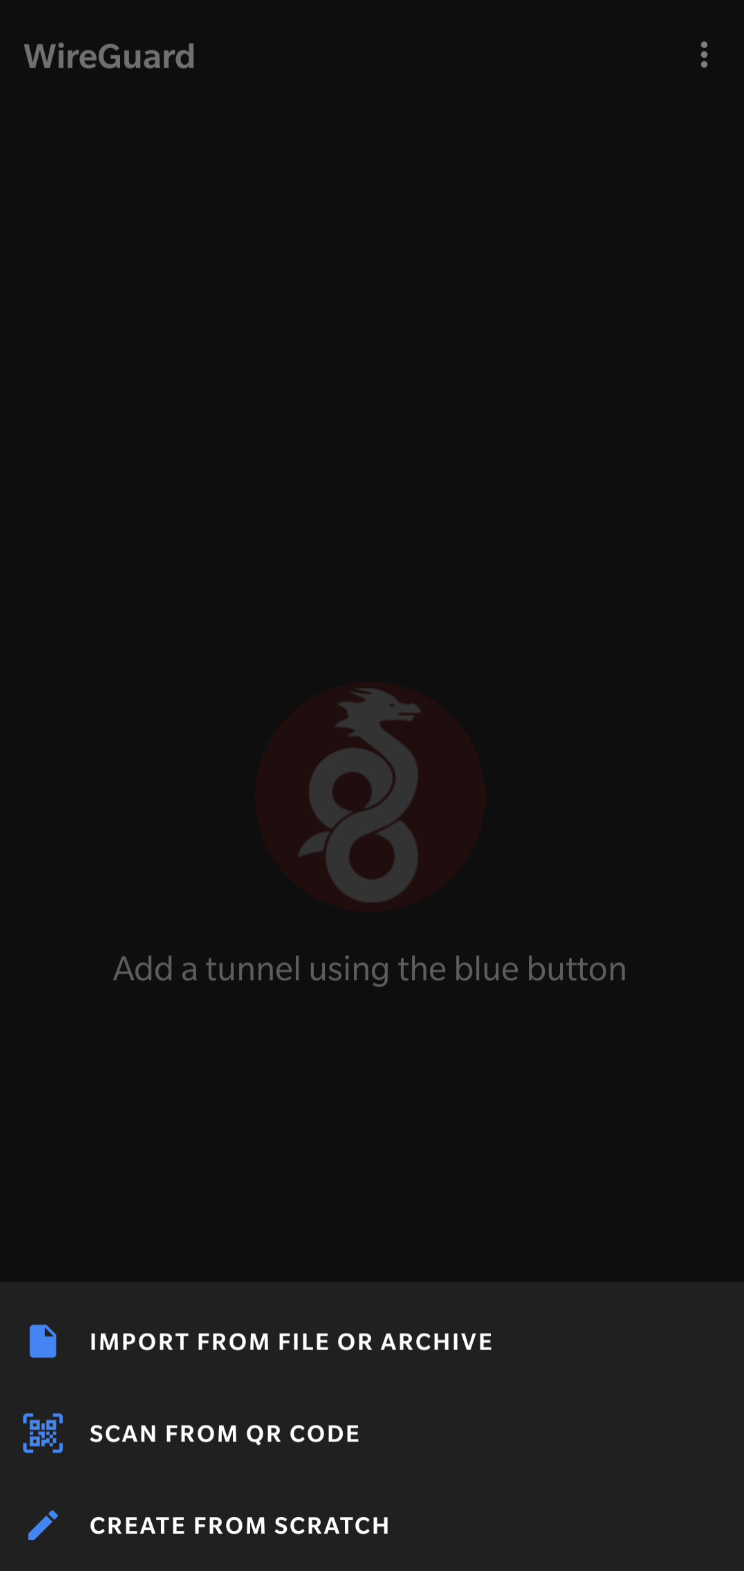
Wireguard allows you to create tunnels in 3 ways – import from file, scan QR code or create from scratch. The first two options are more convenient, however they require additional setup that we will leave for another blog post. I will use the third option now.
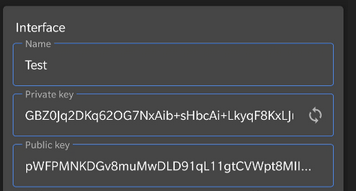
Configure Wireguard tunnel
 |
Interface
Name– Name for the interfacePrivate key– Will be generated on the device and hidden by default, keep it secretPublic key– Derived from the Private key, will be shared with the serverAddresses– IP address of this device within the Wireguard tunnel in/29subnet
Peer
Public key– Public key of the server (/etc/wireguard/keys/wg0_public.key)Pre-shared key– Pre-shared key generated on the server (/etc/wireguard/psk/android_client.psk)Endpoint– Public IP address of the server with appropriate port (look into/etc/wireguard/wg0.conf, value ofListenPort)Allowed IPs– Wireguard IP of the server in/32subnet (only that IP), checkAddressfield inwg0.confon the server. To route everything through the VPN, use0.0.0.0/0
Additionally, if you want to restrict some apps from using the Wireguard interface, you can do so by clicking All Applications and either excluding or including some apps. I will only be using my web browser with the Wireguard tunnel to access my websites, therefore I include Bromite only (one of the best Android web browsers).
Click the save icon in the top right corner and you should see the name of the interface in the main menu. Toggle it on by clicking the button next to it or edit by clicking on the name.
Add Android client to the server config
The Android client should be fully set up for now. Go back to the server and fill appropriate part of wg0.conf. Focus on the part we have commented out while testing the Windows client:
# [Peer]
# PublicKey =
# PresharedKey = your_android_preshared_key
# AllowedIPs = 10.20.20.2/32Either come up with a way to copy the public key over to the server or just carefully type it in manually.
Restart server interface
After editing the config, bring the Wireguard interface down and up again to reload the configuration.
$ sudo wg-quick down wg0
[#] ip link delete dev wg0

$ sudo wg-quick up wg0
[#] ip link add wg0 type wireguard
[#] wg setconf wg0 /dev/fd/63
[#] ip -4 address add 10.20.20.1/29 dev wg0
[#] ip link set mtu 8920 up dev wg0
Test the Android–Server connection
Make sure the server Wireguard interface is up and click the button next to the name of the Wireguard interface on Android. Android might ask you to confirm starting a VPN service and a little key icon will appear in the notification bar.
Try accessing 10.20.20.1 in you Android browser or ping it with Termux or other application.
If you've done everything correctly, you should be able to ping the server from your client. For troubleshooting, try removing the pre-shared keys or check if you have copied all the keys correctly or if the firewall is not preventing communication on the Wireguard port.
Android – restricting apps
When configuring the Android client, we have restricted all apps, except for our web browser, from accessing the Wireguard tunnel. Therefore we aren't able to use ping in app like Termux to test connecitivity to the server. You can temporarily include all apps and save the configuration or navigate to 10.20.20.1 in the browser to perform a handshake with the server.
Wireguard and NAT
Wireguard is by design a very quiet protocol. If there's nothing to talk about then there's no data going through the tunnel. Communication only takes place when peers have some data to send. When there's no real data exchange happening, it seems like there is no tunnel at all. This works perfectly fine in configurations where all peers are reachable through a public IP address, because they can be reached at any moment by anyone. Peer 1 wants to talk to Peer 2? No problem. After 5 minutes, Peer 2 suddently wants to send something to Peer 1? Totally okay, they can all reach each other.
But what if Peer 2 was instead hidden behind NAT? This is very common in consumer-grade internet connections or in mobile networks. They don't have public IPv4 addresses, simply because they don't need them. Now Peer 1 wants to talk to Peer 2, but how to get to it? There's no public IPv4 address and the firewalls between Peer 1 and Peer 2 have already forgot any previously established connections. You can test this yourself and see what happens. First of all, turn off all tunnels and wait a few moments.
Pinging server and clients
$ sudo wg-quick down wg0

[#] ip link delete dev wg0
Now bring both peers up again:
$ sudo wg-quick up wg0

[#] ip link add wg0 type wireguard
[#] wg setconf wg0 /dev/fd/63
[#] ip -4 address add 10.20.20.1/29 dev wg0
[#] ip link set mtu 8920 up dev wg0
Click Activate in Windows.
First of all, try pinging the client from the server. The server is 10.20.20.1 and client 10.20.20.3
$ ping 10.20.20.3
PING 10.20.20.3 (10.20.20.3) 56(84) bytes of data.
From 10.20.20.3 icmp_seq=1 Destination Host Unreachable
ping: sendmsg: Destination address required
From 10.20.20.3 icmp_seq=2 Destination Host Unreachable
ping: sendmsg: Destination address required
From 10.20.20.3 icmp_seq=3 Destination Host Unreachable
ping: sendmsg: Destination address required
From 10.20.20.3 icmp_seq=4 Destination Host Unreachable
ping: sendmsg: Destination address required
From 10.20.20.3 icmp_seq=5 Destination Host Unreachable
ping: sendmsg: Destination address required
Wait...why? Both clients are running and have the Wireguard interface active, right? Well, because the client (10.20.20.3) is behind NAT and it hasn't contacted the server yet, the server doesn't know where to send the data.
Now ping the server (10.20.20.1) from the client (10.20.20.3). This works because the server (10.20.20.1) has a public IP and we can route the data to it this way.
PS C:\Users\Marek> ping 10.20.20.1

Pinging 10.20.20.1 with 32 bytes of data:
Reply from 10.20.20.1: bytes=32 time=87ms TTL=64
Reply from 10.20.20.1: bytes=32 time=42ms TTL=64
Reply from 10.20.20.1: bytes=32 time=42ms TTL=64
Reply from 10.20.20.1: bytes=32 time=42ms TTL=64

Ping statistics for 10.20.20.1:
    Packets: Sent = 4, Received = 4, Lost = 0 (0% loss),
Approximate round trip times in milli-seconds:
    Minimum = 42ms, Maximum = 87ms, Average = 53ms
Quickly go back to the server and ping the client (10.20.20.3) again:
$ ping 10.20.20.3
PING 10.20.20.3 (10.20.20.3) 56(84) bytes of data.
64 bytes from 10.20.20.3: icmp_seq=1 ttl=128 time=42.7 ms
64 bytes from 10.20.20.3: icmp_seq=2 ttl=128 time=42.8 ms
64 bytes from 10.20.20.3: icmp_seq=3 ttl=128 time=42.5 ms
Why is it working now? It is because the client established the connection first and now for a while, the server will be able to reach the client until this connection gets lost. There are two ways to prevent this behavior (client having to send data first)
- Setup Persistent keepalive to keep the connection alive behind NAT or stateful firewalls, disabled by default.
- Always initiate connection from the client first.
In our case (connecting to a web server to access a service), the server doesn't need to communicate with us unless we want it to. When accessing a website on the server, we know that we (the client) will always initiate the connection first. However, if it causes issues within your setup, configure Persistent keepalive.



No Comments