Updating Lineage OS while keeping root working with Magisk
Decided it would be nice to document how to perform an update, because the releases appear fairly frequently and the process isn't exactly straightforward like clicking Download and Install button.
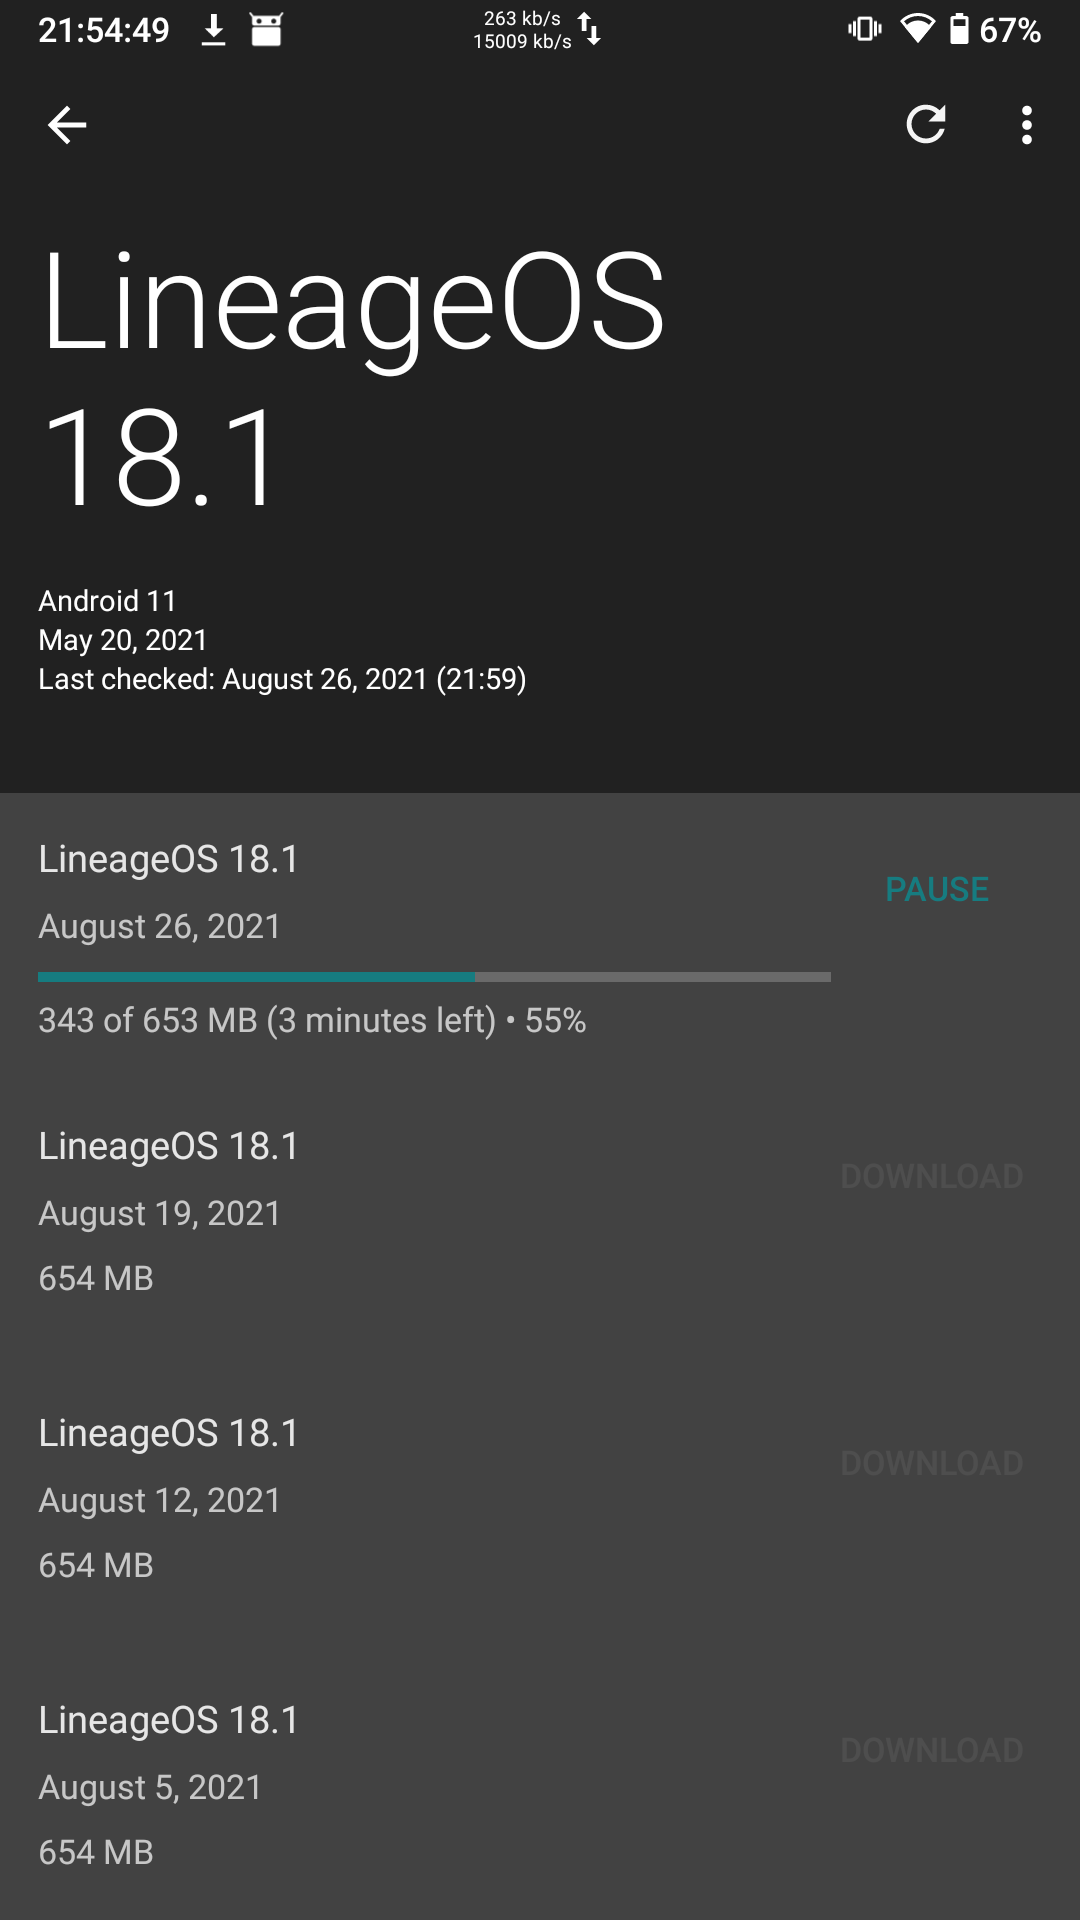
Perform update normally trough OTA
After reboot, open Magisk to check if you are still rooted. Most likely, you are not. Now how to fix it.
Extract files from the newest image
Head over to https://download.lineageos.org/pioneer and download the latest signed zip build and recovery image (optional)
Compare the SHA256 signature from the website with the downloaded file. If you are on Windows, you can use simple powershell cmdlet Get-FileHash. You don't have to check the entire string, just some of the characters, since if the file was modified, the hash would be completely different.
Get-FileHash .\lineage-18.1-20210826-nightly-pioneer-signed.zip

Algorithm       Hash                                                                   Path
---------       ----                                                                   ----
SHA256          DD82D969CA7898F3C42F7B2373F3C354E2733CED4DF94721E7D06472E6D665A0       D:\Exampledir\dir...

Get-FileHash .\lineage-18.1-20210826-recovery-pioneer.img

Algorithm       Hash                                                                   Path
---------       ----                                                                   ----
SHA256          DDED053F46A94222925F30FCF062585DAF6510C1C309F309E13CCCD73855842A       D:\Exampledir\dir...
Download this utility: https://github.com/vm03/payload_dumper to extract boot.img from payload.bin located in the ZIP file you just downloaded. You need python and a couple of other dependencies, everything should be described on the GitHub page.
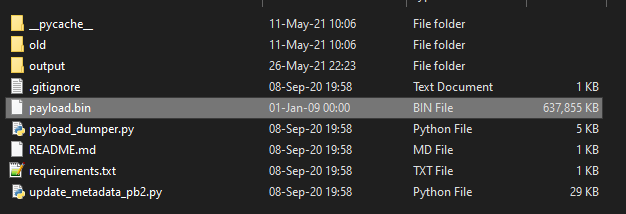
Extract the ZIP and place payload.bin to the root folder of payload_dumper
and run
python payload_dumper.py payload.binProcessing boot partition............Done
Processing system partition.................................................................................
............................................................................................................
............................................................................................................
............................................................................................................
............................................................................................................
............................................................................................................
............................................................................................................
............................................................................................................
............................................................................................................
............................................................................................................
............................................................................................................
............................................................................................................
............................................................................................................
.......................................................................Done
Processing vendor partition.................................................................................
............................................................................................................
............................................................................................................
............................................................................................................
....................DoneYou should end up with three files located in the output folder
Copy the boot.img file to your Android device.device and open Magisk.
Choose the boot.img file and click Next. Magisk will now create a patched boot.img file
Copy the newly generated file to your computer.


