
Rooting Xperia XA2 on Lineage OS
After a successful installation of Lineage OS on the phone, it's time to get it rooted. Lineage OS doesn't come with root by default, since it's not always desirable to have a rooted phone. However, if we want to change some major things and take back control of our devices, we will need root privileges.
DISCLAMER: I AM NOT RESPONSIBLE FOR ANY DAMAGE CAUSED TO YOU OR YOUR DEVICE. YOU ARE ON YOUR OWN (but feel free to ask anything in the comments).
But seriously, the process is not super difficult, just follow the instructions and you should be fine.
Rooting process
To avoid confusion, my bootloader is already unlocked. In case yours isn't – this won't work. However, I assume you have already unlocked it because you have Lineage OS intalled.
Donwload Magisk
Magisk is a fairly advanced open source tool for customizing Android, but also very simple to use with a modern app and many tutorials online. To mention some of the main features of Magisk from their GitHub page:
- MagiskSU – root access for apps
- Magisk Modules – modify read-only partitions by installing modules
- MagiskHide – prevent system and apps from detecting you are rooted
- MagiskBoot – tool for unpacking and repacking Android boot images
Only download Magisk from the official GitHub page: https://github.com/topjohnwu/Magisk. Any other sources may contain unwanted things like malware. Install (you have to enable installation from third party sources, on the newest Androids this is done on app-to-app basis).
Extract files from the newest image
Head over to https://download.lineageos.org/pioneer and download the latest signed zip build – the one that you used to install Lineage OS.

Compare the SHA256 signature from the website with the downloaded file. If you are on Windows, you can use simple powershell cmdlet Get-FileHash. You don't have to check the entire string, just some of the characters, since if the file was modified, the hash would be completely different.
Get-FileHash .\lineage-18.1-20210826-nightly-pioneer-signed.zip

Algorithm       Hash                                                                   Path
---------       ----                                                                   ----
SHA256          DD82D969CA7898F3C42F7B2373F3C354E2733CED4DF94721E7D06472E6D665A0       D:\Exampledir\dir...
Download this utility: https://github.com/vm03/payload_dumper to extract boot.img from payload.bin located in the ZIP file you just downloaded. You need python and a couple of other dependencies, everything should be described on the GitHub page.
Extract the Lineage OS ZIP and place payload.bin to the root folder of payload_dumper


and run
python payload_dumper.py payload.binOutput in the terminal should look something like this:
Processing boot partition............Done
Processing system partition.................................................................................
............................................................................................................
............................................................................................................
............................................................................................................
............................................................................................................
............................................................................................................
............................................................................................................
............................................................................................................
............................................................................................................
............................................................................................................
............................................................................................................
............................................................................................................
............................................................................................................
.......................................................................Done
Processing vendor partition.................................................................................
............................................................................................................
............................................................................................................
............................................................................................................
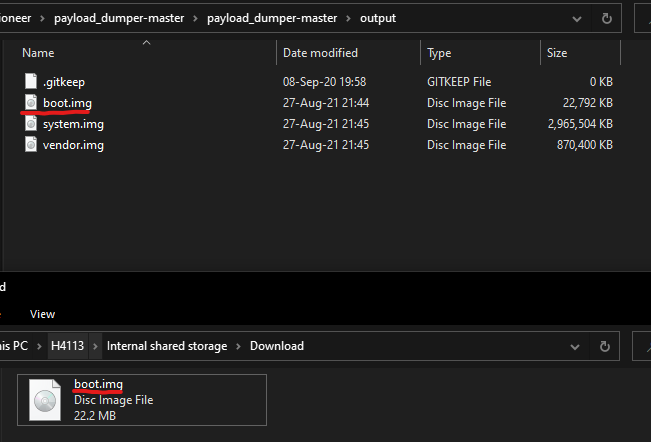
....................DoneAfter it has finished, you should end up with three files located in the output folder

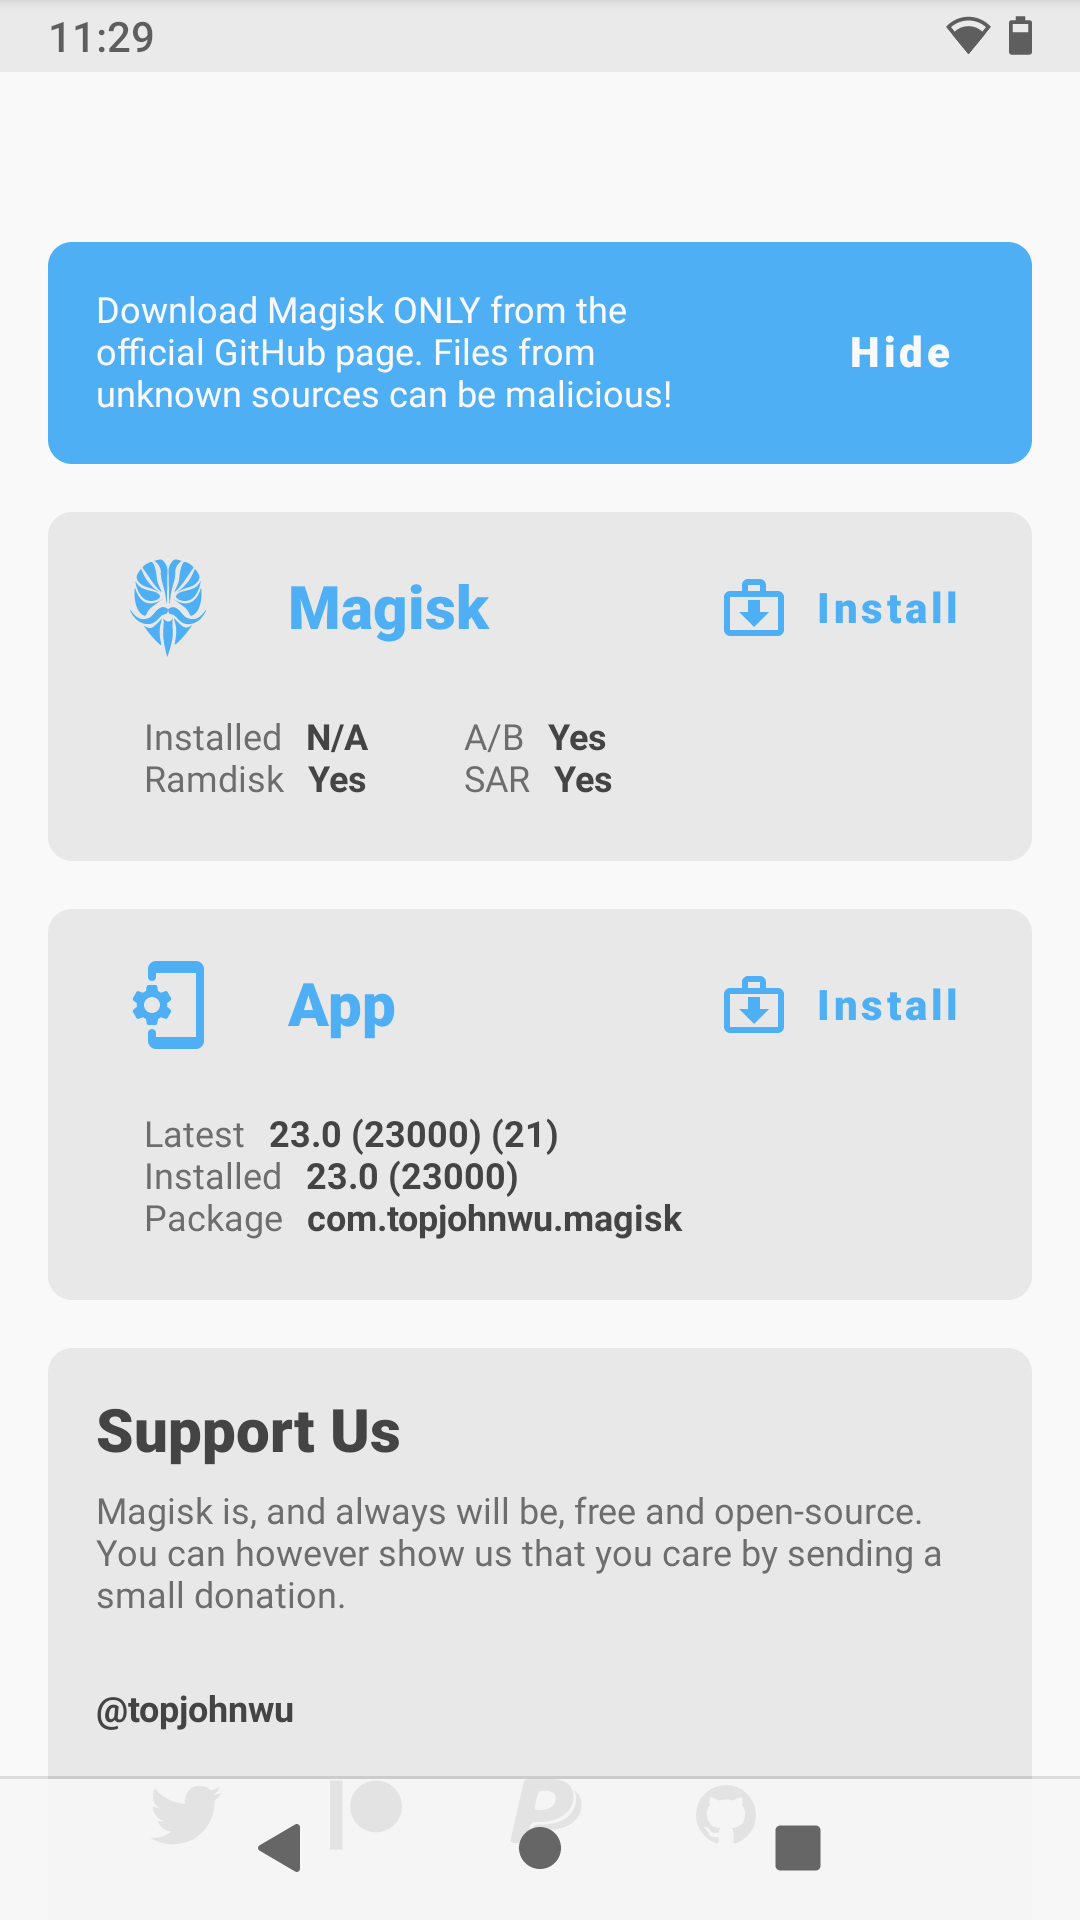
Copy the boot.img file to your Android device and open Magisk.
Patch the extracted image with Magisk
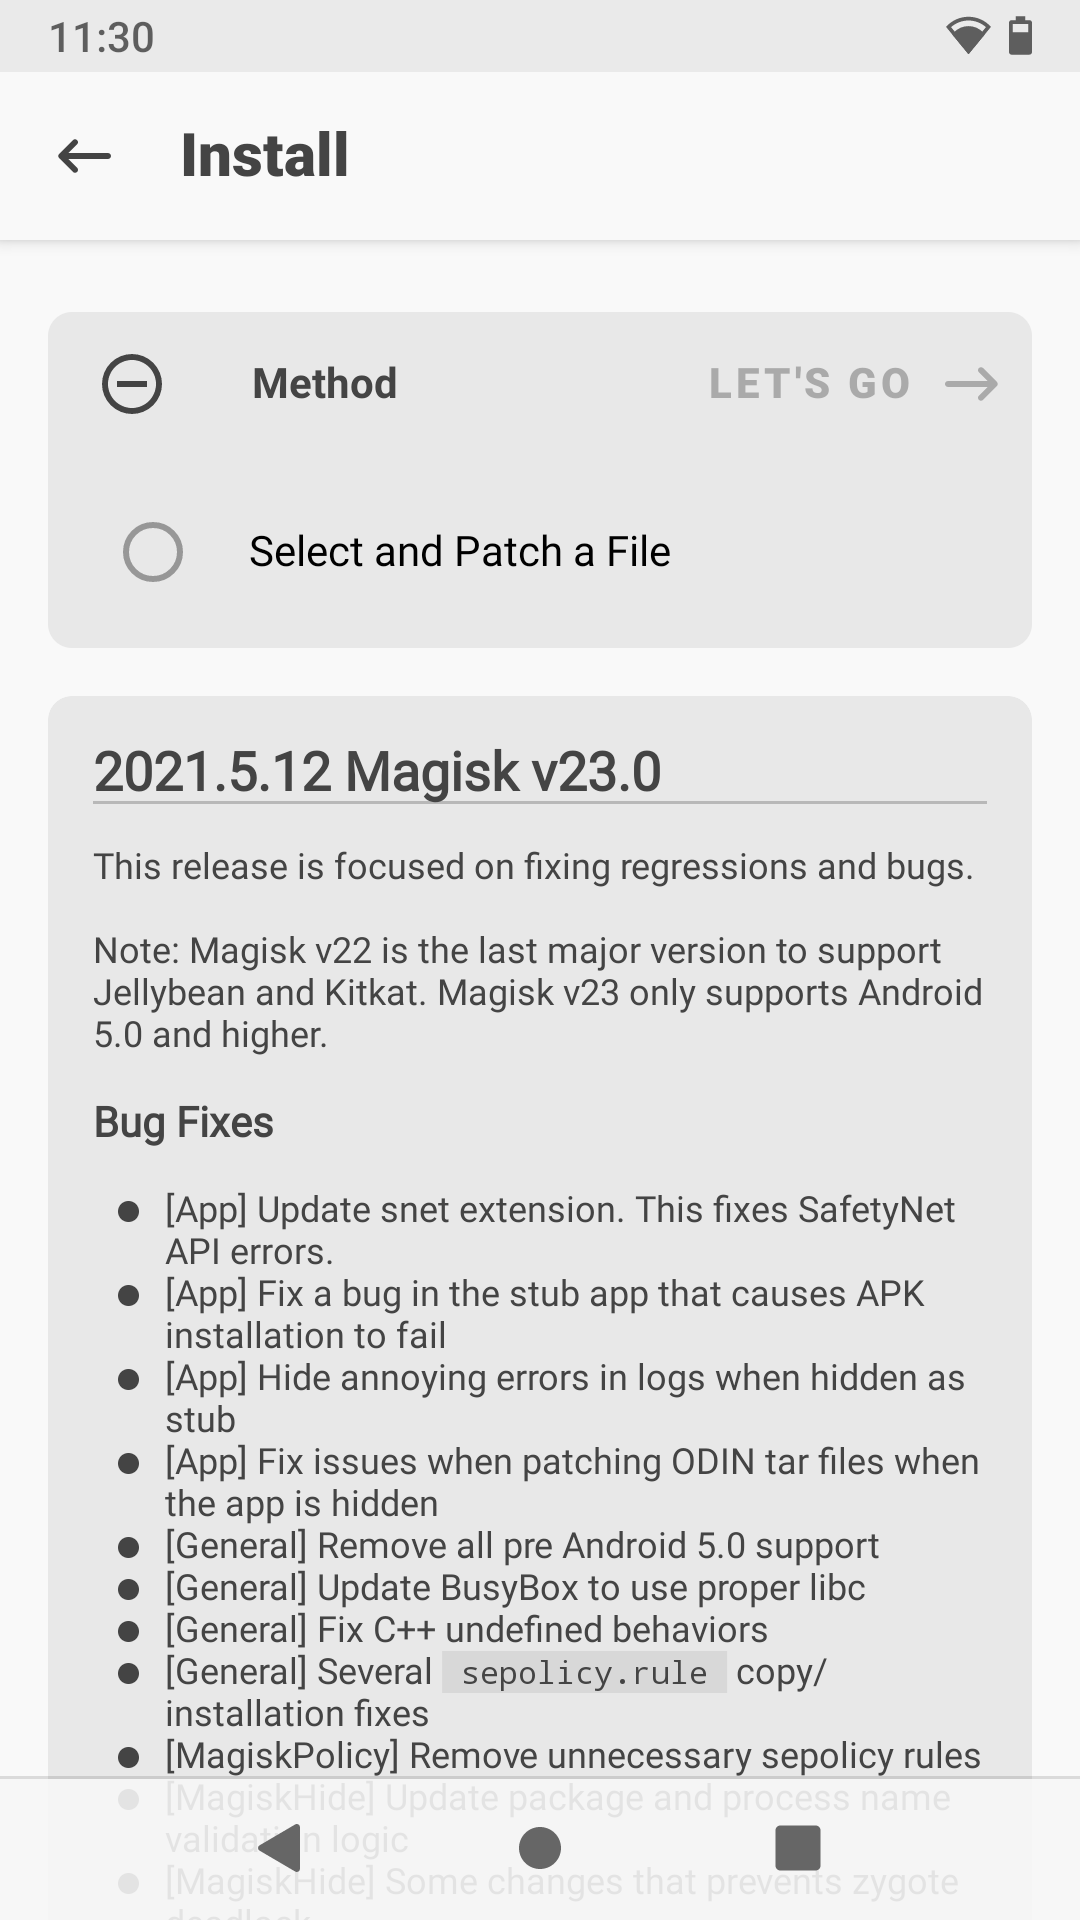
Next to Magisk, click Install
Select and Patch a file
 |
 |
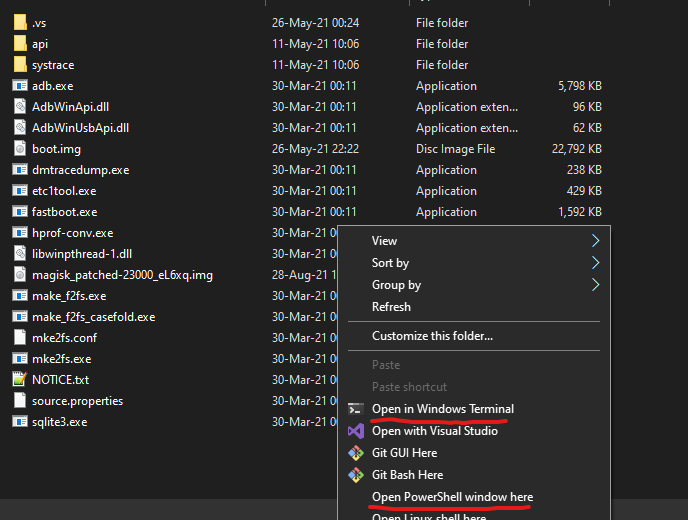
This will take a few seconds and after it has finished, there should be a new file called something like this:

Flash the patched image using ADB
First of all, download appropriate drivers and tools. You should only need these https://developer.android.com/studio/releases/platform-tools, but in case it doesn't work, look around the internet for more.
Copy this file from your phone back to your PC, ideally into the same folder as you ADB tools that you have just downloaded.

- Plug a USB cable to your phone and PC.
- Enable developer mode – Settings --> About phone --> Click Build number 5x times
- Enable USB debugging – Settings --> System --> Advanced --> Developer options --> Flip on switch in USB debugging
- Advanced settings on reboot – Settings --> System --> Advanced --> Gestures --> Power menu --> Flip on switch on Advanced restart
- Hold down the power button --> Power --> Restart --> Bootloader
Device should now reboot into boot loader, make sure the USB cable is connected.
Now Shift+right click into the folder with ABD tools and your patched image file and open either Windows Terminal (if you have it installed) or regular PowerShell/cmd window.
Try running .\fastboot.exe devices. If you can't see any output, open Device Manager in Windows and look for something like this:

Right click it --> Update driver --> Browser my computer for drivers --> Let me pick from a list of available drivers on my computer --> List all devices --> Google Inc. --> Android Bootloader Interface
Now try running .\fastboot.exe devices again, you should get this:
>.\fastboot.exe devices
CQ3000952E      fastboot
Flash the patched image to your Android device (the name of the file might be different)
>.\fastboot flash boot magisk_patched-23000_eL6xq.img

Sending 'boot_b' (23069 KB)                        OKAY [  0.498s]
Writing 'boot_b'                                   OKAY [  0.180s]
Finished. Total time: 1.172s
Reboot the device
 .\fastboot reboot
Rebooting                                          OKAY [  0.000s]
Finished. Total time: 0.002s
After the reboot, open up Magisk and check if it is recognized as installed.

That's it! You now have a rooted Lineage OS device. What to do next? Everything you want. In case you need some tips, I have created a list of things that I do.
No Comments