
Import Google Photos to Immich
So you decided to abandon Google Photos. Whether it be due to privacy concerns, lack of control, Google's ever changing Privacy Policy or you just don't want to end up like this guy, doesn't matter. No matter what pushed you to this decision, it is certainly the right thing to do. You stumbled upon one of the self hosted alternatives, Immich. Good choice. Now it's time to make the switch.
After initial setup, Immich allows you to upload your photos and videos in 3 main ways:
- Upload through GUI
- Backup using a mobile application
- Immich CLI
The first two options are useful for new photos, which you have saved on your computer or phone. But how do you transfer your entire Google Photos library? This is where Immich CLI comes into play. It is a CLI utility which allows you to bulk import photos and videos to your Immich account, with all the necessary metadata.
Export photos from Google Account
First of all, you need to get all your photos from the Google Account. The web photos.google.com allows you to download images individually or in bulk, but that's not useful for exports of your entire library, which might be thousands of photos.
Fortunately Google allows you to do a Takeout.
- Log in to your Google Account and go to photos.google.com
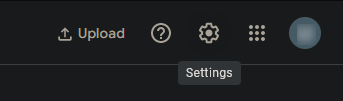
- Click on the Settings button in the top right corner
- Scroll down to the bottom of the page and click on Export your data and then Backup

- This will take you to a new page called Google Takeout
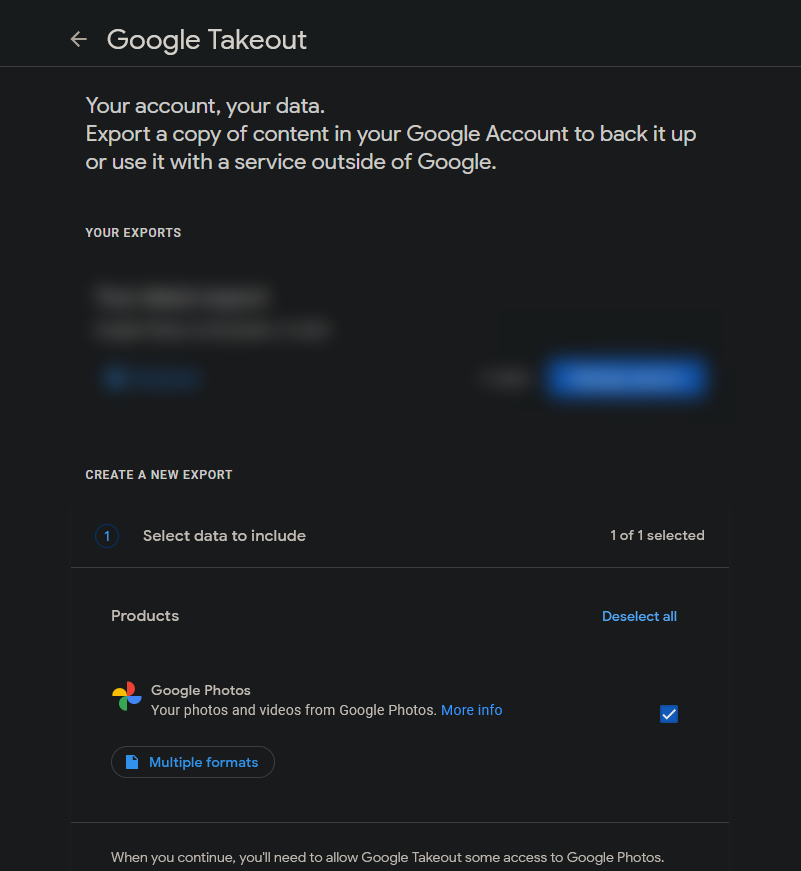
- It will automatically select just Google Photos, so you won't be exporting your entire Google Profile (although it may be a good idea in the future)

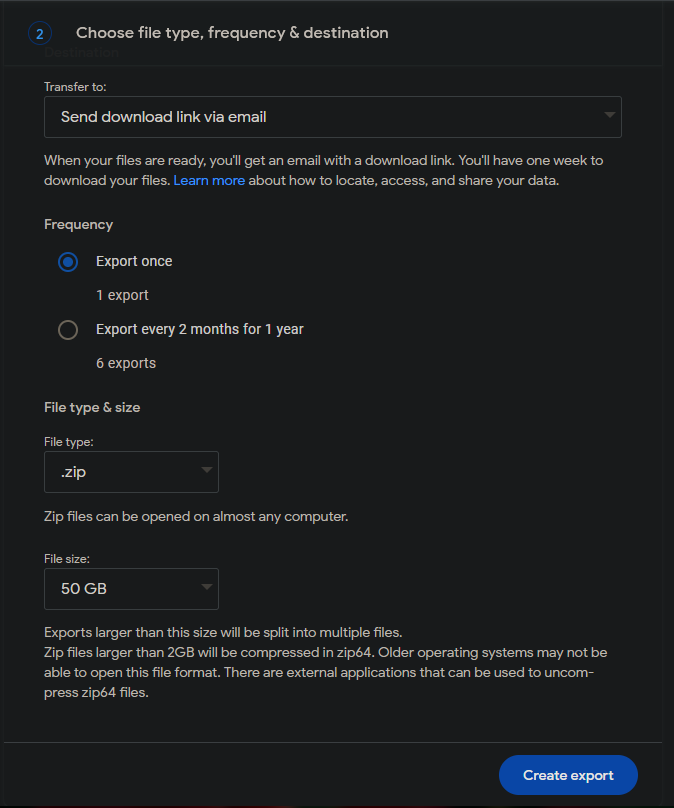
- Click on Continue and choose how you would like your file to be delivered. It's mostly enough to select Send download link via email, Export once, .zip file type and File size depending on the stability of your connection and size of your library.
- This process will take from hours to days depending on the size of your library.
- Once it's done, just download the archive file to your computer.
Install and setup Immich CLI
Immich officially provides the Immich CLI as a Node.js CLI application you can install using npm.
For Google Photos, we are going to be using community maintained immich-go package. This is because the package was build specifically for imports from Google Photos and makes it ten times easier than other options. The original Immich CLI works great if you have some other kind of library with proper .XMP metadata files as well.
Why not just unzip the package from Google and upload all photos using the web GUI?
Turns out the Google export is dumb (but it also may be an issue on Immich side), but when you do this, the photos will show up in your timeline as if there were taken today, meaning the day they were uploaded to Immich. This is not great because the photos may be from 2014 but will show up as from 2023. Immich-go solves this and uses proper metadata from .json files included in the Google export (each exported file has its .json metadata file, similar to .xmp)
Install immich-go
Note that we will be using a Linux system for this (you can use the same system where you host Immich)
- Head over to the project's Github page to download the latest release using a tool like wget
wget https://github.com/simulot/immich-go/releases/download/0.9.2/immich-go_Linux_x86_64.tar.gz- Decompress the download archive so you can run the binary inside
tar -xvf immich-go_Linux_x86_64.tar.gz- Now you should be able to run the utility
user@server:$ ./immich-go
immich-go  0.9.2, commit 1de980ae7383586f396e4af7ec91a06ade172865, built at 2023-12-15T07:58:26Z

missing -server, Immich server address (http://<your-ip>:2283 or https://<your-domain>)
missing -key
missing command upload|duplicate|stack- If something is not working, check that the file has execute privileges
Get Immich API key
For the program to work, we need to provide it with the URL of your Immich instance and a user API key. We can generate the API key in GUI as per the documentantion.
- Log in to your Immich instance with the account you want to upload the photos to (not admin)
- Click on your profile icon and go to Account Settings

- Here you pick API Keys and New API Key

- Name it however you want and click Create

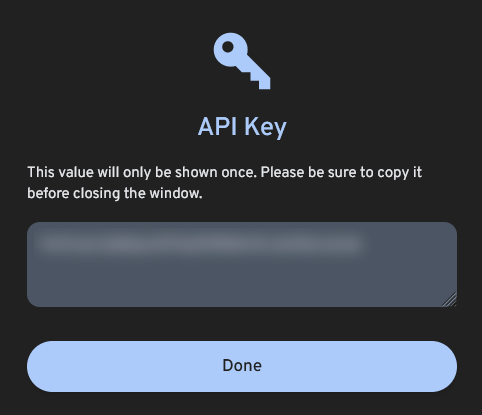
- This will show you the newly created API key. Make sure to write it down somewhere because you won't be able to view it again
Upload photos with immich-go
Transfer the .zip file of your library to the same system where you have installed immich-go. You can use tools like scp to transfer files between Windows and Linux machines.
Now that you have everything ready, it's time to upload your library.
./immich-go -server=https://yourdomain.example -key=XXXXXXXXXXXXXXXXX upload -dry-run -create-albums -google-photos googlearchive.zipThis is only a dry-run, so it will show you what it would upload but doesn't do anything yet.
Upload report:
 28599 scanned files
 12588 handled files
 12156 metadata files
  8801 uploaded files on the server
     1 upgraded files on the server
  3758 duplicated files in the input
    102 files already on the server
     0 discarded files because in folder failed videos
     0 discarded files because of options
     0 discarded files because server has a better image
     0 files type not supported
     0 errors
     0 files without metadata file
Done.- If you are satisfied with the numbers it showed you, just remove the -dry-run option from the command
./immich-go -server=https://yourdomain.example -key=XXXXXXXXXXXXXXXXX upload -create-albums -google-photos googlearchive.zipYou don't even have to unzip the file, just run the command pointing to the .zip
No Comments