Xperia XA2
- Rooting Xperia XA2 on Lineage OS
- Things TODO after installation – settings, apps etc.
- Updating Lineage OS while keeping root working with Magisk
Rooting Xperia XA2 on Lineage OS
After a successful installation of Lineage OS on the phone, it's time to get it rooted. Lineage OS doesn't come with root by default, since it's not always desirable to have a rooted phone. However, if we want to change some major things and take back control of our devices, we will need root privileges.
DISCLAMER: I AM NOT RESPONSIBLE FOR ANY DAMAGE CAUSED TO YOU OR YOUR DEVICE. YOU ARE ON YOUR OWN (but feel free to ask anything in the comments).
But seriously, the process is not super difficult, just follow the instructions and you should be fine.
Rooting process
To avoid confusion, my bootloader is already unlocked. In case yours isn't – this won't work. However, I assume you have already unlocked it because you have Lineage OS intalled.
Donwload Magisk
Magisk is a fairly advanced open source tool for customizing Android, but also very simple to use with a modern app and many tutorials online. To mention some of the main features of Magisk from their GitHub page:
- MagiskSU – root access for apps
- Magisk Modules – modify read-only partitions by installing modules
- MagiskHide – prevent system and apps from detecting you are rooted
- MagiskBoot – tool for unpacking and repacking Android boot images
Only download Magisk from the official GitHub page: https://github.com/topjohnwu/Magisk. Any other sources may contain unwanted things like malware. Install (you have to enable installation from third party sources, on the newest Androids this is done on app-to-app basis).
Extract files from the newest image
Head over to https://download.lineageos.org/pioneer and download the latest signed zip build – the one that you used to install Lineage OS.

Compare the SHA256 signature from the website with the downloaded file. If you are on Windows, you can use simple powershell cmdlet Get-FileHash. You don't have to check the entire string, just some of the characters, since if the file was modified, the hash would be completely different.
Get-FileHash .\lineage-18.1-20210826-nightly-pioneer-signed.zip

Algorithm       Hash                                                                   Path
---------       ----                                                                   ----
SHA256          DD82D969CA7898F3C42F7B2373F3C354E2733CED4DF94721E7D06472E6D665A0       D:\Exampledir\dir...
Download this utility: https://github.com/vm03/payload_dumper to extract boot.img from payload.bin located in the ZIP file you just downloaded. You need python and a couple of other dependencies, everything should be described on the GitHub page.
Extract the Lineage OS ZIP and place payload.bin to the root folder of payload_dumper


and run
python payload_dumper.py payload.binOutput in the terminal should look something like this:
Processing boot partition............Done
Processing system partition.................................................................................
............................................................................................................
............................................................................................................
............................................................................................................
............................................................................................................
............................................................................................................
............................................................................................................
............................................................................................................
............................................................................................................
............................................................................................................
............................................................................................................
............................................................................................................
............................................................................................................
.......................................................................Done
Processing vendor partition.................................................................................
............................................................................................................
............................................................................................................
............................................................................................................
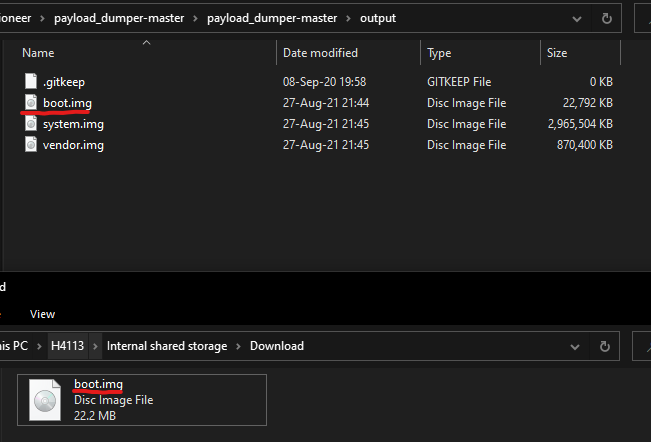
....................DoneAfter it has finished, you should end up with three files located in the output folder

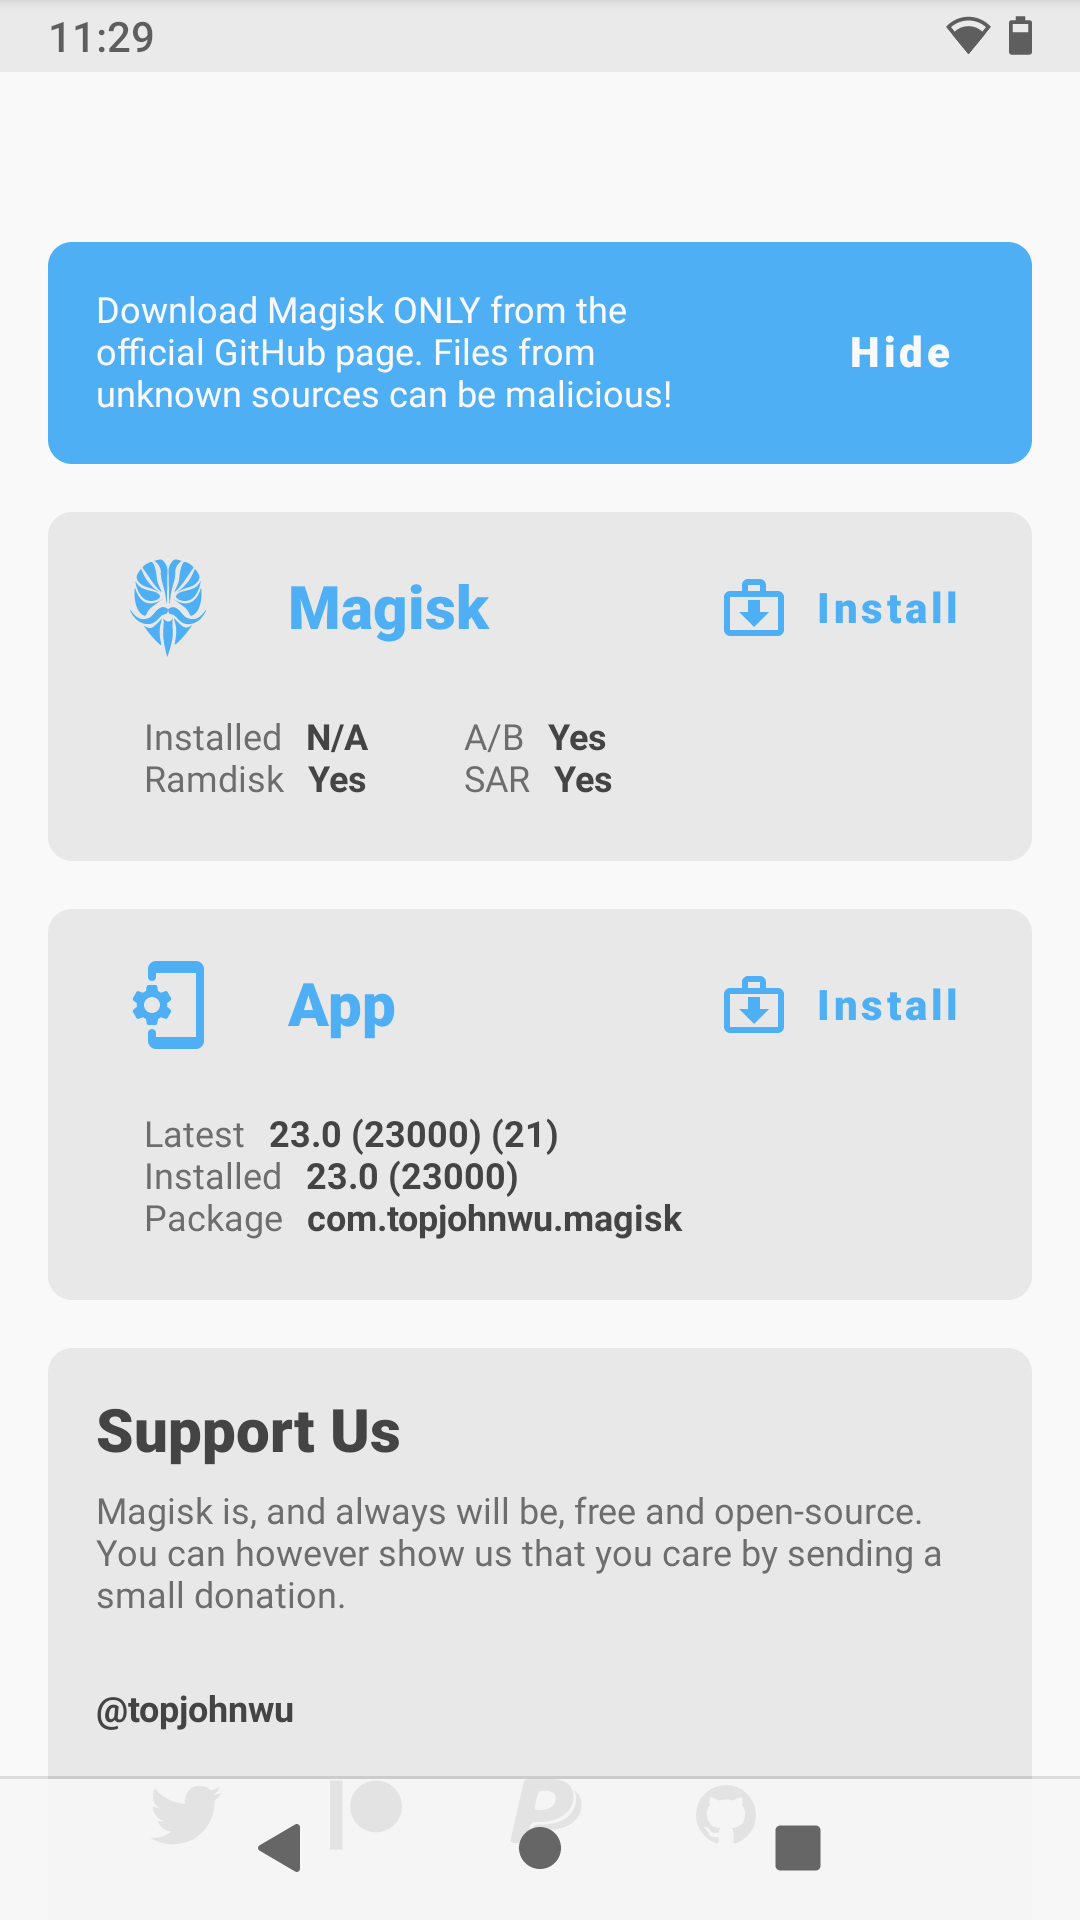
Copy the boot.img file to your Android device and open Magisk.
Patch the extracted image with Magisk
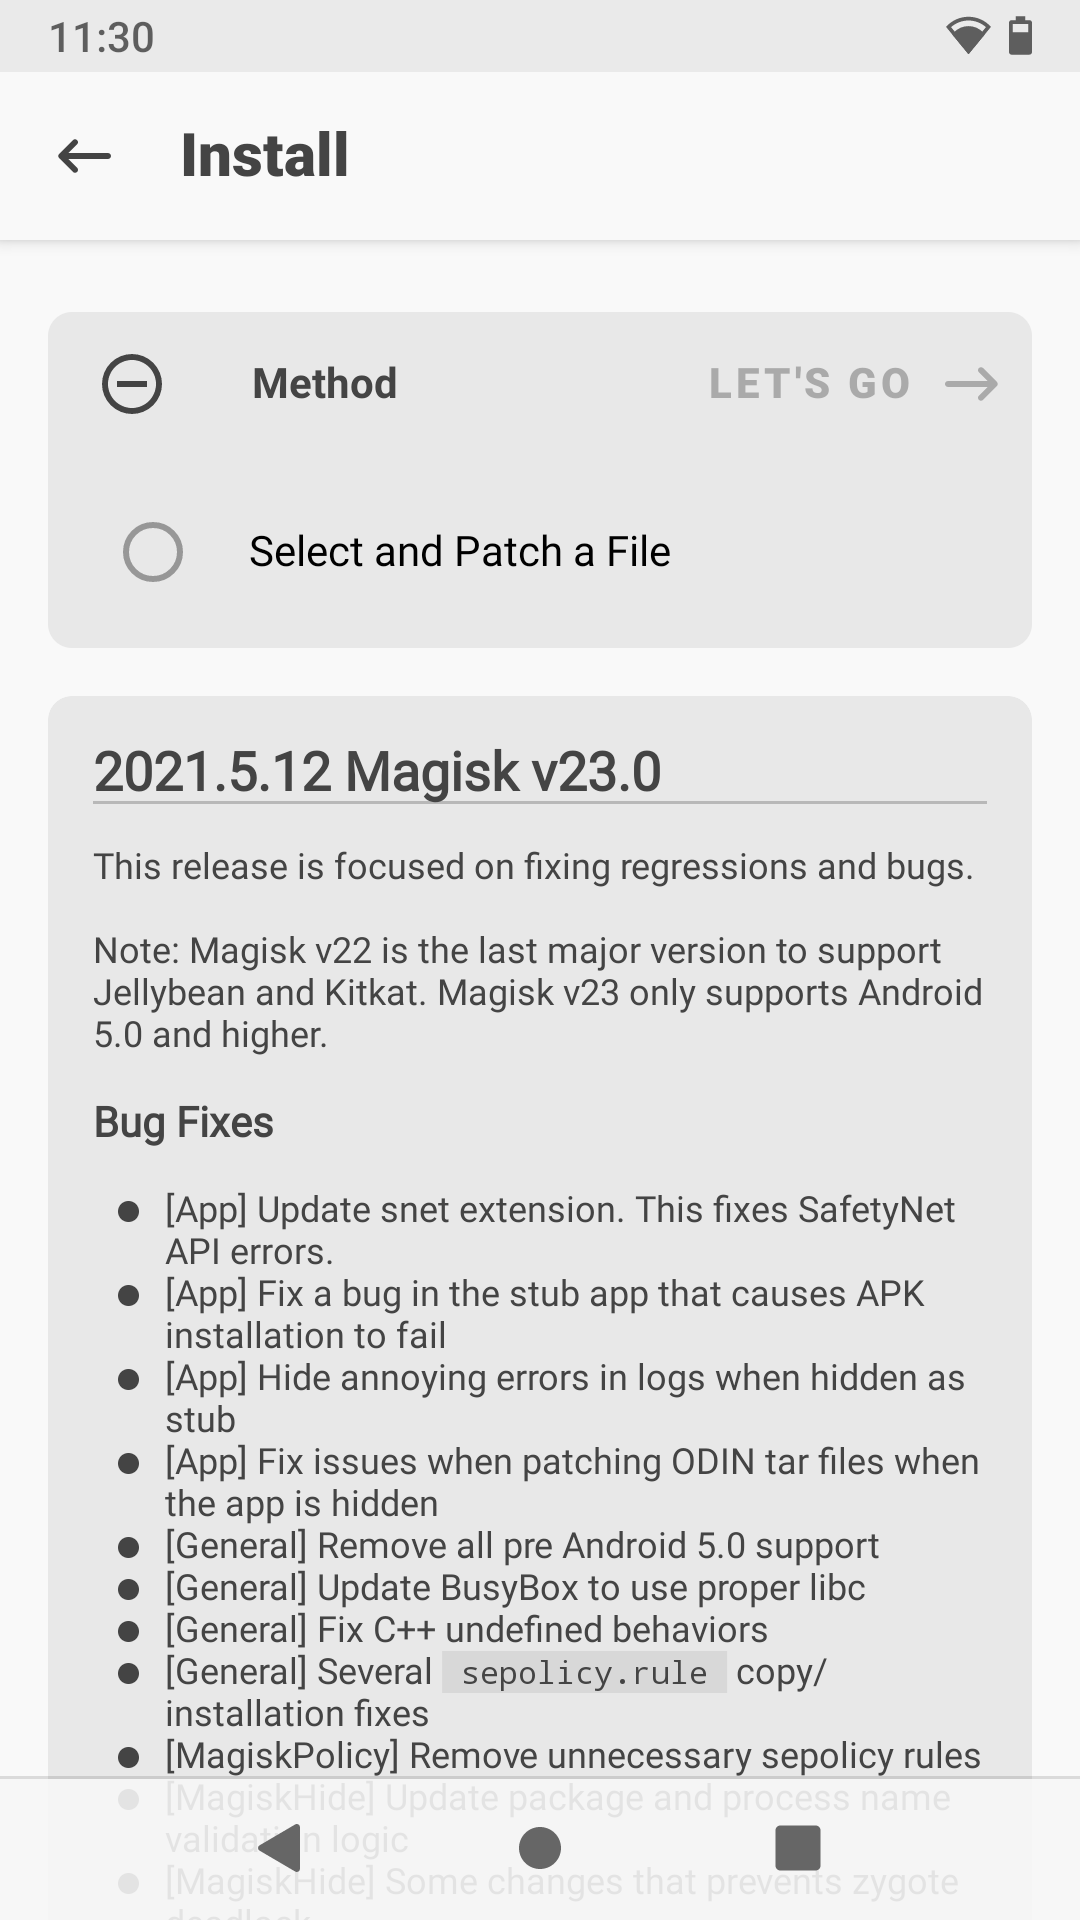
Next to Magisk, click Install
Select and Patch a file
 |
 |
This will take a few seconds and after it has finished, there should be a new file called something like this:

Flash the patched image using ADB
First of all, download appropriate drivers and tools. You should only need these https://developer.android.com/studio/releases/platform-tools, but in case it doesn't work, look around the internet for more.
Copy this file from your phone back to your PC, ideally into the same folder as you ADB tools that you have just downloaded.

- Plug a USB cable to your phone and PC.
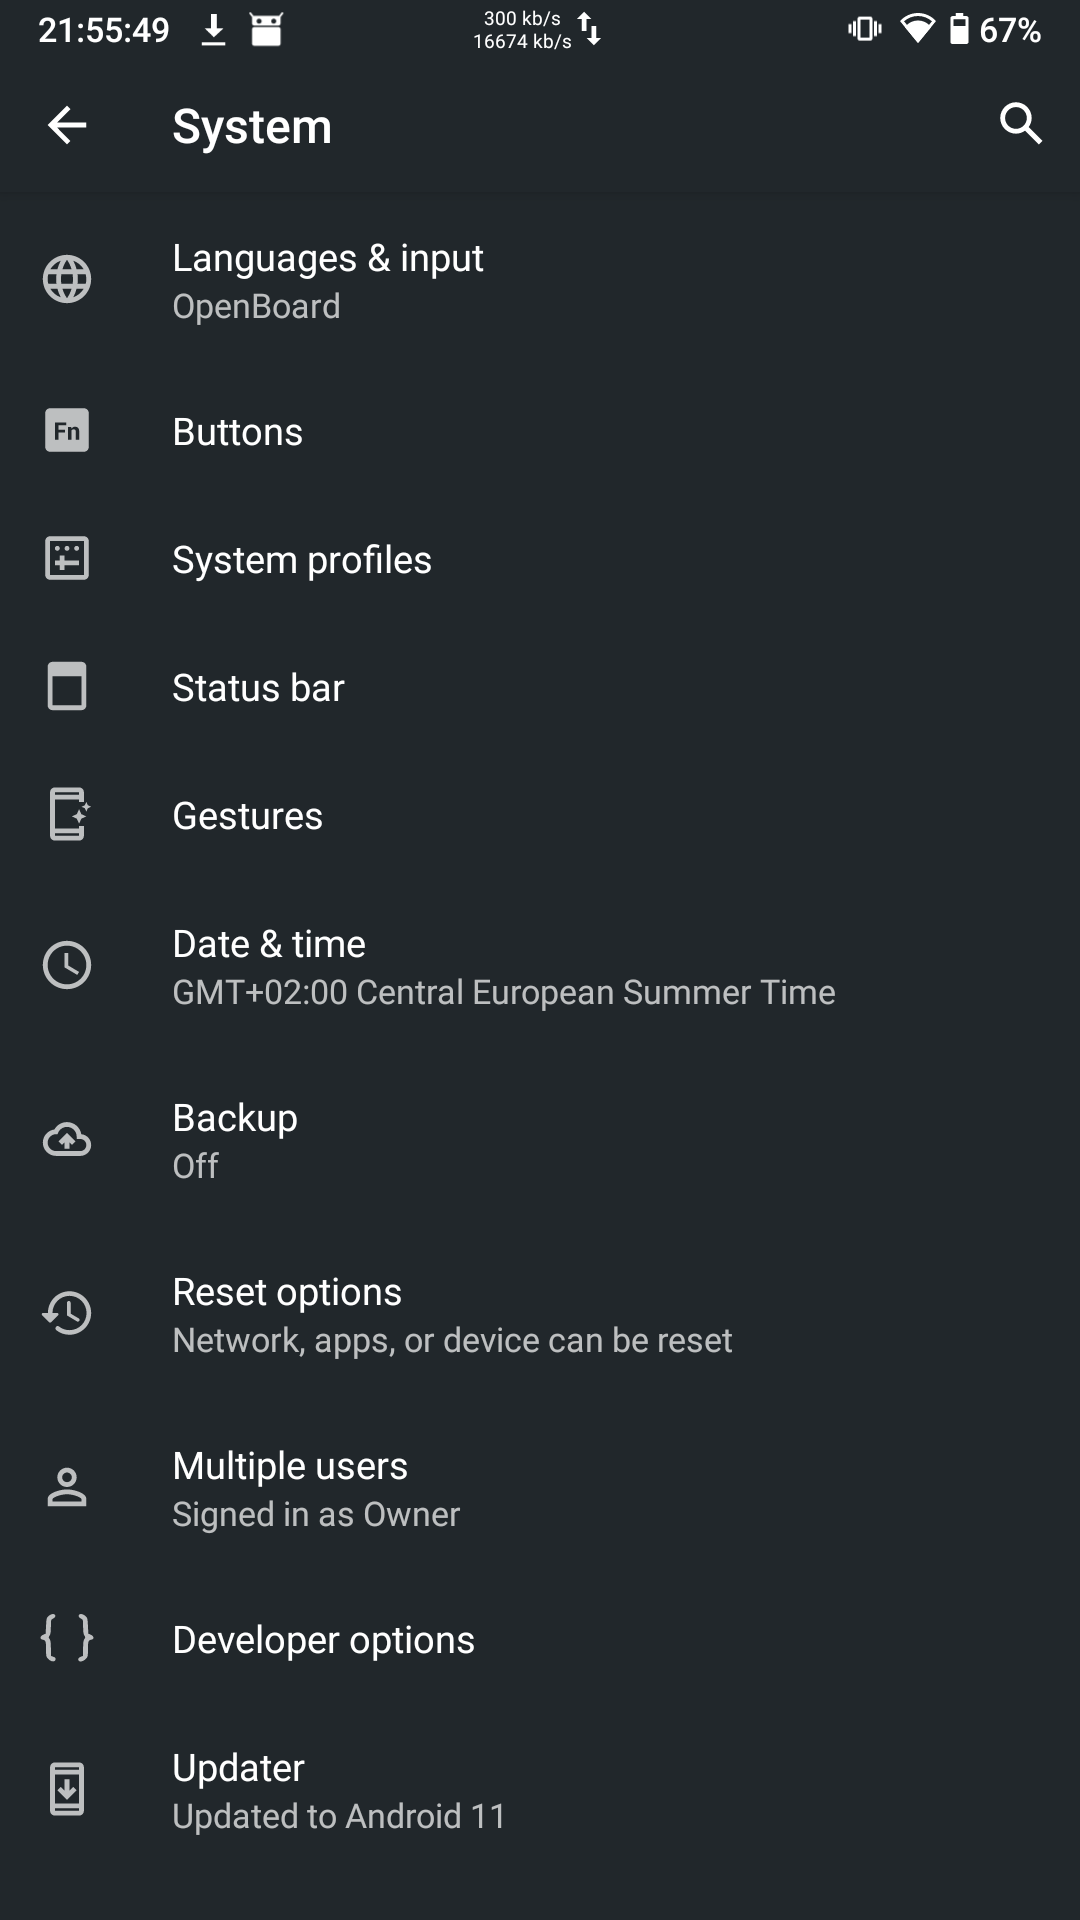
- Enable developer mode – Settings --> About phone --> Click Build number 5x times
- Enable USB debugging – Settings --> System --> Advanced --> Developer options --> Flip on switch in USB debugging
- Advanced settings on reboot – Settings --> System --> Advanced --> Gestures --> Power menu --> Flip on switch on Advanced restart
- Hold down the power button --> Power --> Restart --> Bootloader
Device should now reboot into boot loader, make sure the USB cable is connected.
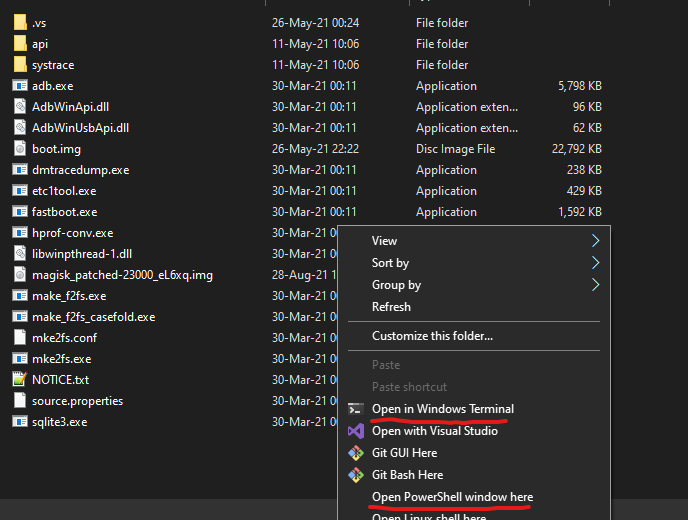
Now Shift+right click into the folder with ABD tools and your patched image file and open either Windows Terminal (if you have it installed) or regular PowerShell/cmd window.
Try running .\fastboot.exe devices. If you can't see any output, open Device Manager in Windows and look for something like this:

Right click it --> Update driver --> Browser my computer for drivers --> Let me pick from a list of available drivers on my computer --> List all devices --> Google Inc. --> Android Bootloader Interface
Now try running .\fastboot.exe devices again, you should get this:
>.\fastboot.exe devices
CQ3000952E      fastboot
Flash the patched image to your Android device (the name of the file might be different)
>.\fastboot flash boot magisk_patched-23000_eL6xq.img

Sending 'boot_b' (23069 KB)                        OKAY [  0.498s]
Writing 'boot_b'                                   OKAY [  0.180s]
Finished. Total time: 1.172s
Reboot the device
 .\fastboot reboot
Rebooting                                          OKAY [  0.000s]
Finished. Total time: 0.002s
After the reboot, open up Magisk and check if it is recognized as installed.

That's it! You now have a rooted Lineage OS device. What to do next? Everything you want. In case you need some tips, I have created a list of things that I do.
Things TODO after installation – settings, apps etc.
So you've just successfully installed Lineage OS on your phone, in this case Xperia XA2. I assume you have already went through the initial couple of screens and set basic things like Wi-Fi, unlock password, etc. Now you are staring at a clean Lineage OS, what to do next? I decided to write down some of the things that I do and you might want to do too. I say might because not everyone has the same priorities when using their mobile device, so take everything as you wish.
Customizing through basic settings
Enable dark mode
I am one of the dark mode users who describe light mode like this:

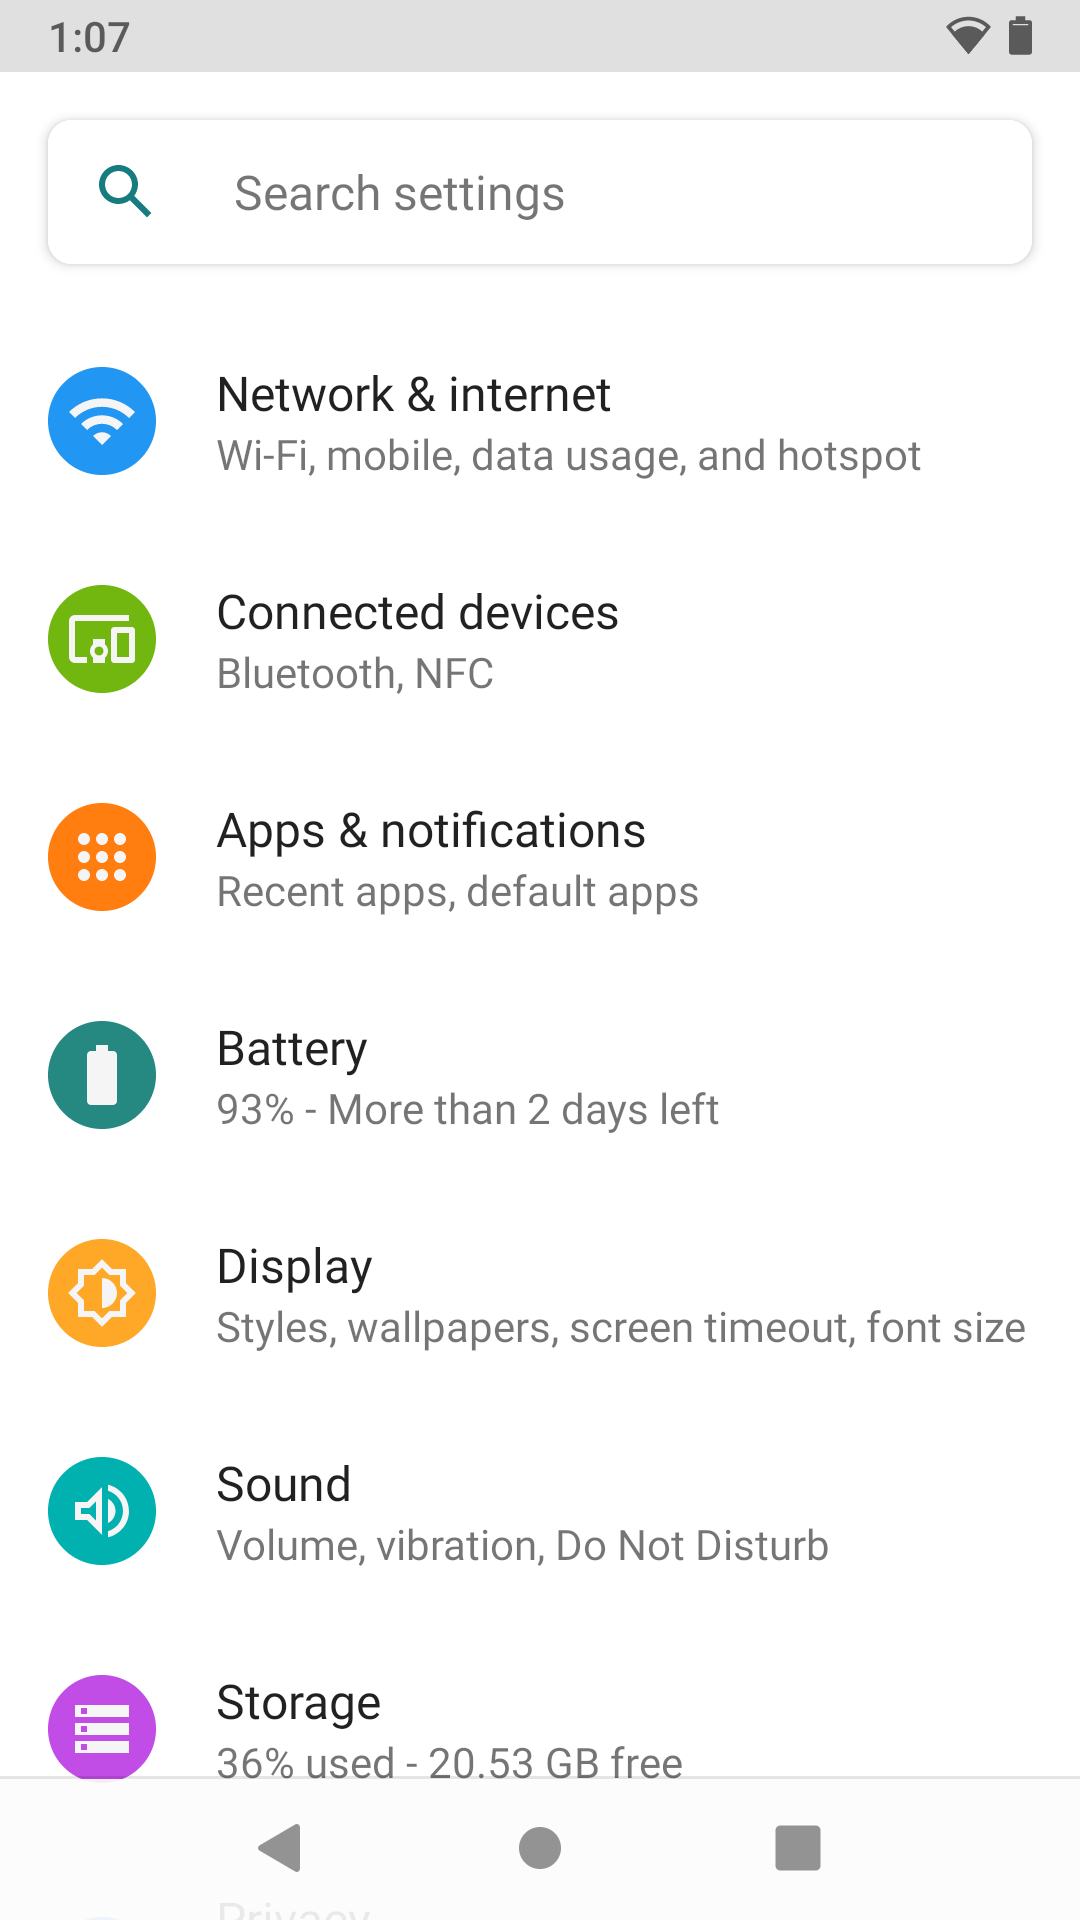
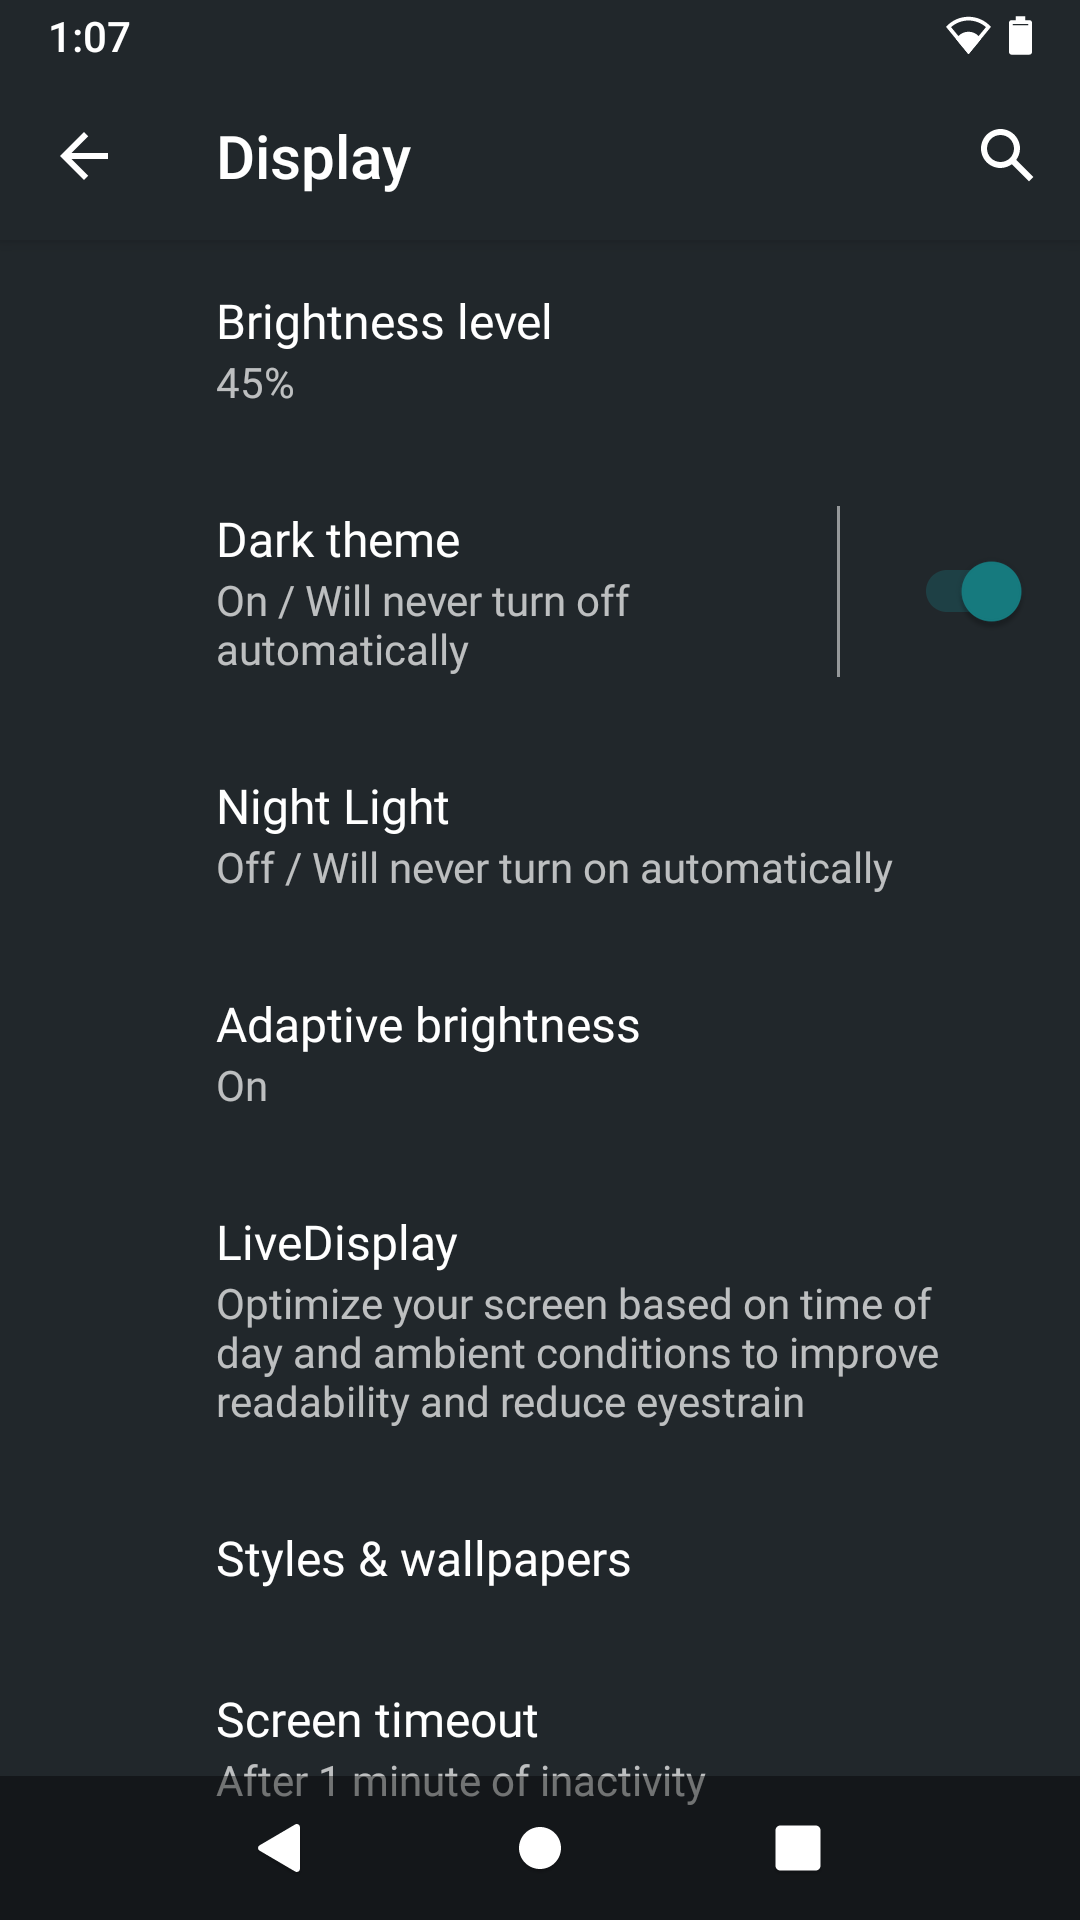
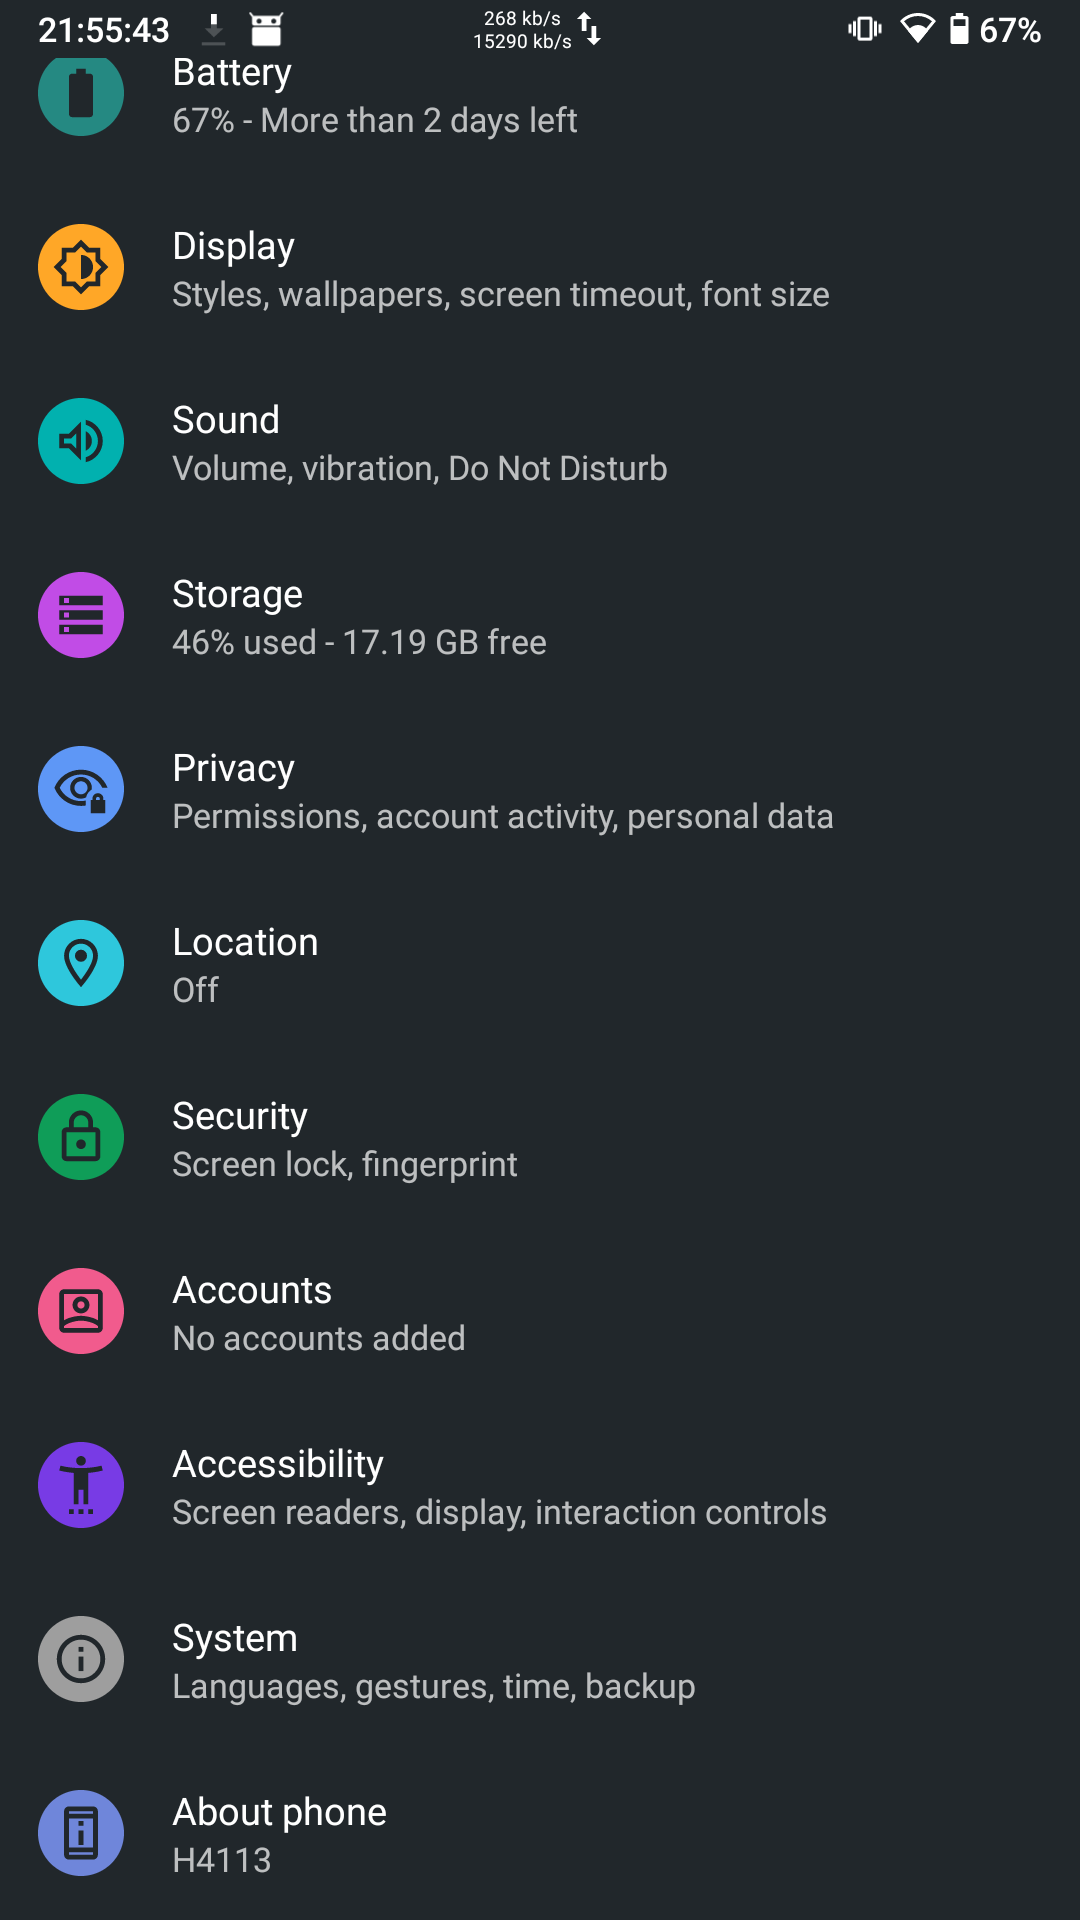
That's why the first thing I am going to do will be turning on dark mode in the system settings. Navigate to Settings --> Display --> Dark theme (on). Better, isn't it? Due to personal preference, this is completely optional.
|
|
|
Navigation buttons
Even though I'm not particulary fond of buttonless navigation, especially the latest Android implementation where you go back by swiping from the right or left side instead of the bottom right or left, which interfered less with other gestures, I still prefer having as much screen estate as possible. In order to turn on buttonless navigation:
- Settings --> System --> Advanced --> Gestures --> System Navigation --> Select Gesture navigation and click the Settings icon and disable Navigation hint to get rid of the white bar the at bottom of the screen
|
|
|
App pinning & Screen lock
In case you need to share your device with someone for a moment, for example to let them search for something in a browser or any other case, consider enabling App pinning. With this feature enabled, open an app and long press its icon in the Recents screen (or app switcher, the screen where you can switch between apps). Once the app is pinned, you won't be able to leave the app, unless you Swipe up and hold. Afterwards you will be asked for your pattern or other kind of screen lock, depending on which one you've set.
|
|
|
Speaking about screen lock. If you are using a pattern, Lineage OS has a net couple of features around it. Go to:
- Settings --> Security --> Screen lock and click the Settings icon. In there you can enable hiding the pattern so it's not visible or you can completely remove the dots for best protection. Experiment and determine what you find most secure and convenient enough.
Adjusting scaling
Maybe it's because I got used to a phone with a larger screen, but the 5.2" Xperia simply doesn't feel great with the default scaling, everything seems too big. You can change both the Display size and Font size. I recommend you try to combine both to see which best suits your eyes.
- Settings --> Display --> Advanced --> Font size/Display size
|
|
|
Installing F-Droid
|
|
|
Updating Lineage OS while keeping root working with Magisk
Decided it would be nice to document how to perform an update, because the releases appear fairly frequently and the process isn't exactly straightforward like clicking Download and Install button.
Perform update normally trough OTA
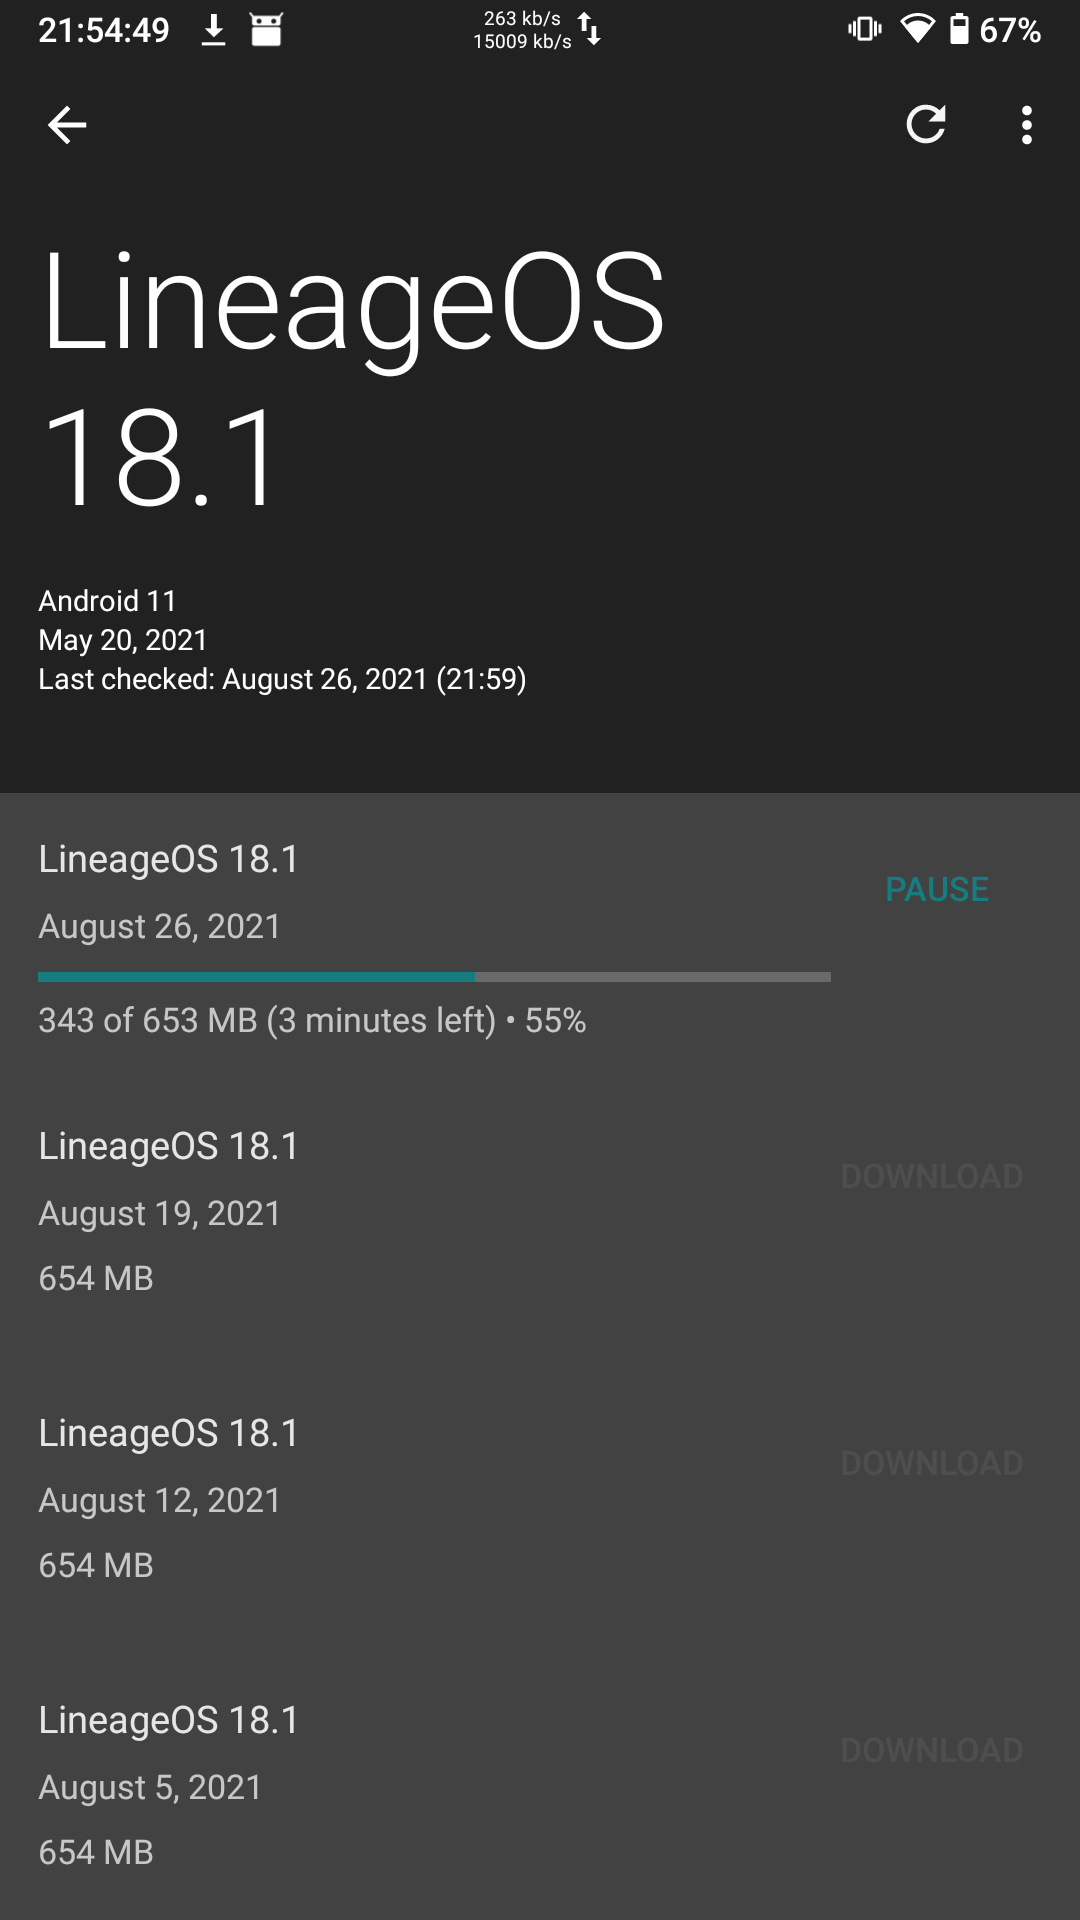
After reboot, open Magisk to check if you are still rooted. Most likely, you are not. Now how to fix it. The only way I found working is to basically repeat the whole root process again. In short:
- Download the latest build from Lineage OS website, extract boot.img using payload_dumper
- Copy boot.img to Android, patch with Magisk
- Copy patched image back to PC
- Use fastboot to flash the patched image
These steps are decribed in more detail over here: https://selfhostedfuture.xyz/books/everything-nix-and-libre-software/page/rooting-xperia-xa2-on-lineage-os